

How to build an aerobar hydration setup that stays fast and easy to use

Aerobar hydration is not just about carrying fluid. It is about keeping your hands calm, your torso settled, and your pacing intact while you drink. A good setup lets you reach the bottle without lifting your chest, twisting the shoulders, or searching for the cage when the road gets rough. That is why the best systems are built as part of the cockpit, not added as an afterthought. In our range at Tetsuo, that usually means starting with a stable front end such as Masamune or TAO X3, then choosing a bottle solution that matches race duration, access needs, and your position.
The fastest hydration system is the one you actually use on schedule. Riders often focus on drag first, but access is what determines whether a plan survives race pace. If the bottle sits too low, too far forward, or at an awkward angle, you delay drinking. When that happens, the problem shows up later as a drop in cadence, rising heart rate, and a position that feels harder to hold than it should.
Between the arms, a bottle can work with the shape of the front end instead of fighting it. At Tetsuo, we build our current product ecosystem around cockpit integration, which is why our bottle options are designed to sit cleanly with our aerobar systems. The goal is simple. Shorter reach to the bottle, less movement at the shoulders, and a more repeatable drinking action over long blocks in aero. You can see that integration logic across our aerobars collection and in our broader triathlon aerobars guide.
There is also a control benefit. Every time you sit up to drink, you briefly change load through the front end. That may not matter on a straight trainer session, but it matters outdoors where wind, surface vibration, and fatigue all add noise. A clean front bottle position helps you drink with less disruption. Over one ride, that means smoother execution. Over a season, it means a setup you trust without second guessing.
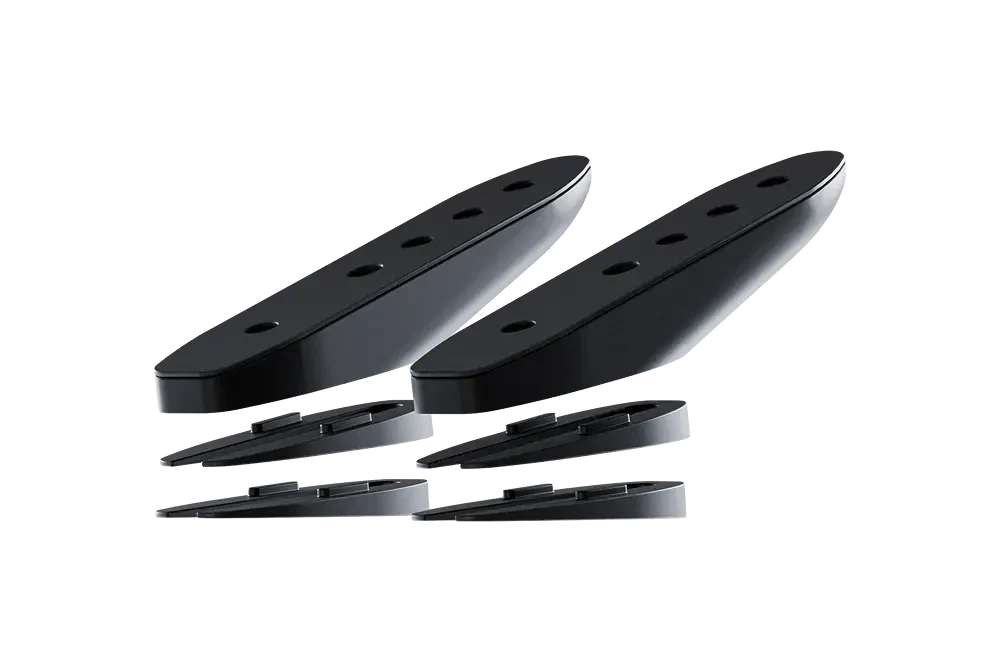
Your bottle system can only feel stable if the base cockpit is stable first. For riders who want maximum front-end precision, Masamune is the obvious starting point. At Tetsuo, we developed it around long-course demands, with a unidirectional carbon monocoque body, wrist angle regulation, removable foam, and a dedicated bottle adapter within our component ecosystem. That matters because hydration works better when the arm support, hand position, and bottle mount are all part of the same logic rather than three separate parts fighting each other.
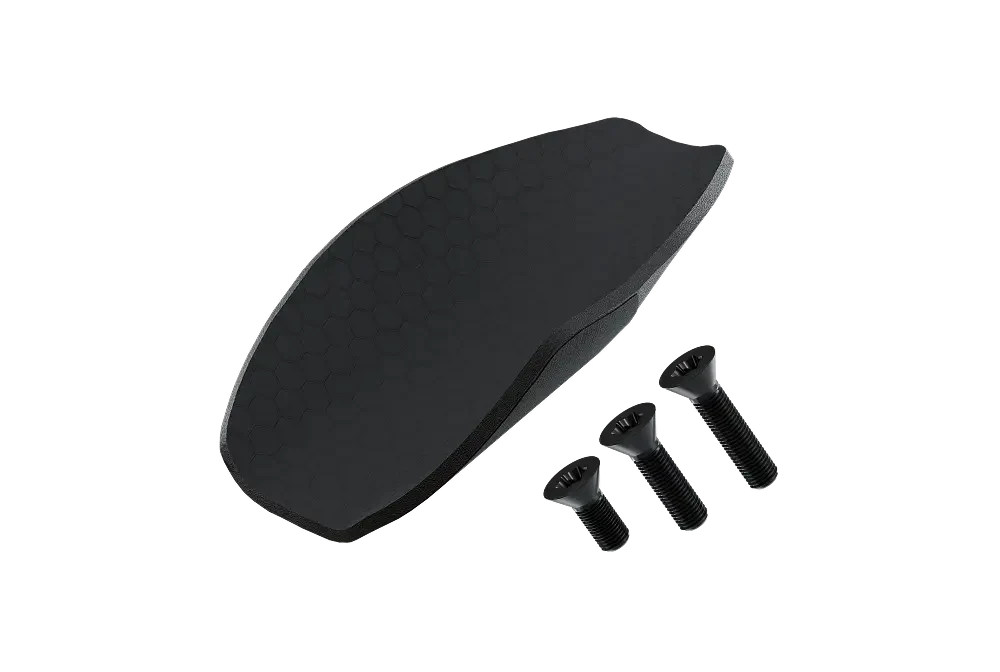
If you want a simpler arm support platform, TAO X3 gives you a lighter entry into the same philosophy. On the product page, we describe carbon fibre armrests, EVA foams in the box, and compatibility with most Dual Stack bikes. For many athletes, that is enough to build a stable hydration platform without overcomplicating the first setup. The key is not choosing the most complex option. It is choosing the base that lets you keep pressure even through the forearms while leaving enough room to reach the bottle cleanly.
After that, the decision becomes practical. Do you want one bottle close to the hands, or do you need more capacity across the cockpit? At Tetsuo, we cover both directions with the Bottle holder, which includes adjustable angle, and the Bottle holder + Bottle holder bar, which supports one to three bottles. The shared design principle is rigidity. A bottle system that rattles, rotates, or flexes under load is a fit problem as much as a storage problem.
Masamune makes the most sense when you are already close to your target position and want finer control. On the product page, we highlight wrist angle regulation and compatibility with our wedge ecosystem. That opens the door to subtle changes in hand elevation and support angle without improvising the hydration mount. For long sessions, those details matter because drinking tends to expose every weakness in a position. If the shoulders are overloaded or the wrists are too flat, the move toward the bottle feels clumsy. If the front end is settled, the same movement feels automatic.
TAO X3 suits riders who want comfort-led support with fewer moving parts. Since the armrests and EVA foams are already part of the package, the setup path is more direct. That makes it easier to judge where the bottle should sit before you start adding complexity. If your present goal is to improve bottle access and hold aero longer, a simpler cockpit often gives clearer feedback than a crowded one.
There are two common ways to think about front hydration. The first is a single bottle placed where the hands can reach it with minimal movement. The second is a bar-based setup that expands capacity while keeping weight centred between the arms. Our current range at Tetsuo supports both approaches.
A single bottle usually works best for shorter races, controlled training sessions, and riders who want the lightest visual and mechanical footprint. The adjustable Bottle holder gives you angle control, which is more important than it sounds. A bottle that points slightly toward the hands is easier to draw and return consistently. A bottle that sits too flat can force you to hunt for the cage. A bottle that stands too tall may interfere with head position or computer visibility.
The bar-based option is better when volume and stability matter more than minimalism. The Bottle holder bar is designed to work with one to three bottles, and the combined Bottle holder + Bottle holder bar package gives a straightforward route for athletes who know they want integrated carrying capacity from the start. Because the bar is built in 7075 aluminium and we describe it as lightweight and extremely rigid, it fits the kind of front-end discipline this category demands.
Whichever route you choose, think in layers. First, can you remove and replace the bottle without steering off line. Second, can you do it when breathing hard. Third, can you do it late in the ride when your neck and shoulders are already loaded. That is the real test.
The bottle does not live in isolation. It lives inside your pad width, extension length, hand angle, and shoulder rhythm. That is why athletes sometimes buy the correct parts but still dislike the final setup. The problem is often fit, not hardware.
Start with pad contact. If the elbows and forearms do not feel planted, any movement toward the bottle becomes larger than it should be. In our own fitting content at Tetsuo, we recommend a controlled, single-variable approach when adjusting the front end. That mindset works perfectly for hydration. Move one thing, test it, and keep notes. If you change pad width, extension tilt, bottle angle, and cage height together, you will not know what actually solved the problem.
Next, check hand relaxation. Your wrists should not need to brace against the extensions every time you reach forward. When the hands stay soft, the bottle movement becomes shorter and more repeatable. This is one reason we place so much weight on fit hardware at Tetsuo. A component such as K-Wedges can help you tune reach and tilt in a more controlled way so bottle access improves without forcing a complete rebuild.
Finally, validate outdoors. A setup that feels perfect indoors can become awkward when vibration enters the picture. Use a repeatable loop. Drink on a straight section, return the bottle, and note whether you had to shift the chest upward or lose pressure through one elbow. Those are the signs that the bottle is technically reachable but not truly integrated.
When athletes talk about hydration, they often jump straight to cages and bottles. In practice, tilt and reach shape the whole interaction. Raise the hands slightly and the bottle may come closer to the natural line of the forearms. Extend the reach too far and you may create a longer, heavier movement every time you drink. Neither change is automatically good or bad. The point is to understand what each one does to the path between elbow support and bottle access.
This is where K-Wedges are useful. At Tetsuo, we present them as adjustable fit components that increase reach and tilt adjustment with high load capacity. That matters because improvised stacks often make a cockpit look adjustable while making it feel vague. With a cleaner wedge-based solution, you can test small changes and preserve front-end confidence.
A practical rule works well here. If you repeatedly shrug the shoulders to pull the bottle out, the hands are probably too low or the bottle angle is too flat. If you clip the bottle against the forearms when returning it, the bottle may be too high or too close. If the movement feels fine for the first hour and bad after three hours, the issue may be cumulative fatigue rather than raw placement. In that case, revisit tilt before blaming the bottle system.
Race duration changes what a good setup looks like. For shorter events, speed of access matters more than total capacity. For longer events, repeatability matters more than the fastest first grab.
For short-course riding, a single front bottle is often enough. Keep the system simple, keep the bottle close, and avoid clutter between the hands. A stable arm support from TAO X3 paired with the adjustable Bottle holder gives a compact route that is easy to test and refine. You want quick access without turning the cockpit into a storage wall.
For middle distance, many riders still do best with one primary bottle between the arms and additional fluid elsewhere on the bike. The reason is balance. You need enough drink access to stay on schedule, but you also need room to settle the head, breathe cleanly, and move slightly within the position over several hours. In this range, the exact bottle angle becomes more important than the number of bottles. Small improvements in grab and return save energy over repeated efforts.
For long-course riding, capacity and routine start to matter more. That is where Masamune plus the Bottle holder + Bottle holder bar becomes attractive. At Tetsuo, we describe the bar system as compatible with one to three bottles and designed for seamless cockpit integration. That makes it easier to build a front end around predictable access rather than around last-minute storage compromises. Long-course athletes should also spend more time practicing real drinking frequency. A system is not race ready because it looks clean. It is race ready when you can use it on schedule during long aero blocks without posture drift.
Hydration hardware needs the same discipline as the cockpit itself. A dirty cage, a loose mount, or dried residue around contact points can turn a precise setup into a noisy one. Start with the basics. Remove the bottle, inspect the mounting points, and check that the cage still holds with the same tension you expect outdoors. If the bottle starts bouncing more than usual, do not assume the road is the problem.
On our product pages at Tetsuo, we also keep the care routine simple. Carbon fibre surfaces can be wiped with a clean cloth and water, and the foam should be kept out of prolonged sun exposure. Apply that same clean approach to the hydration hardware. Wash bottles and cages thoroughly, let everything dry fully, and inspect for small shifts before the next ride.
Build a pre-ride sequence you can repeat in less than two minutes. Confirm bolt security, bottle angle, cage tension, and clean insertion. Then do one deliberate grab and return before rolling away. Small habits keep the whole system quiet.
The first mistake is choosing capacity before control. Carrying more fluid sounds smart until the front end becomes crowded and bottle returns stop feeling natural. Start with the smallest system that supports your plan, then add capacity only when your routine proves you need it.
The second mistake is ignoring the relationship between bottle access and fit. Athletes often blame the cage when the real issue is pad width or hand angle. If you have to lift the chest every time you drink, the setup is already costing speed before the bottle ever leaves the mount.
The third mistake is building around indoor comfort only. Trainer sessions can hide problems because the bike is steadier and the line is perfectly straight. Outdoors, the same bottle movement may feel larger, slower, and less secure. That is why, in our own fit guidance at Tetsuo, we lean on repeatable testing and small changes rather than dramatic overhauls.
The fourth mistake is using improvised front-end stacks to fix access. This usually creates one improvement and two new problems. You may bring the bottle closer, but lose wrist comfort or steering confidence. Controlled adjustment through the correct cockpit parts almost always leads to a cleaner result.
| Need | Recommended Tetsuo route | Why it fits |
|---|---|---|
| Simple front bottle access | Bottle holder | Adjustable angle helps align the bottle with your hand path |
| More front capacity | Bottle holder + Bottle holder bar | Supports one to three bottles with a rigid integrated bar |
| Long-course front-end precision | Masamune | Built around ergonomics, stability, wrist angle regulation, and modular integration |
| Comfort-led support platform | TAO X3 | Carbon fibre armrests with EVA foams and a simpler path to setup |
| More controlled hand elevation | K-Wedges | Supports cleaner tilt and reach adjustments than improvised stacks |
If you want to keep this build process efficient, open the pages that solve one question at a time. Use Masamune when you need the full cockpit logic. Use TAO X3 when you want a simpler arm support base. Check the Bottle holder for a single-bottle route, the Bottle holder bar for bar-only capacity, and the Bottle holder + Bottle holder bar when you want the integrated package.
For fitting context, the most useful companion read is How to Adjust Aerobar Position for Speed and Comfort. For broader context on setup choices, go to the Complete triathlon aerobars guide 2026. These pages help frame hydration as part of the cockpit system rather than a separate accessory decision.
The best position is the one that lets you remove and return the bottle without lifting the chest or shifting pressure off one forearm. In most cases, that means close to the hands with a slight angle that matches your reach path. Start with access, then confirm the setup stays calm outdoors.
Often yes, but only when the rest of your hydration plan covers refills or extra capacity elsewhere on the bike. For riders who want more fluid carried in the cockpit, our Bottle holder + Bottle holder bar gives a more integrated route than improvising separate mounts.
Not always, but wedges help when the real issue is hand height or extension angle rather than the bottle mount itself. If drinking forces a shoulder shrug or an awkward wrist movement, controlled tilt adjustment can solve the problem more cleanly than changing cages alone.
Masamune is the stronger option for riders who want maximum front-end precision and a modular ecosystem around fit and accessories. TAO X3 is a strong alternative when you want a simpler support platform and a more direct setup path.
Test it any time you change bottle angle, pad width, tilt, or reach. Use one repeatable route and judge whether you can drink, return the bottle, and stay settled in aero while breathing hard. That is the standard that matters.

GETTING YOU FASTER
Configure your Masamune