


How to race IRONMAN Kona 2026 with a reliable aero cockpit


IRONMAN Kona 2026 returns the men’s and women’s world championship fields to a single race day in Kailua-Kona, Hawaii, on Saturday, October 10. The classic full-distance format combines a 3.8 km ocean swim, a 180.2 km bike leg and a 42.2 km marathon. Fitness earns the opportunity to start. Heat control, disciplined pacing, stable handling and a cockpit that remains comfortable for hours decide how effectively an athlete can use that fitness.
At Tetsuo, we view Kona through the front end of the bike. The course does not reward an aerodynamic position that works only in calm training conditions. It rewards a position that stays quiet when the road is exposed, the body is hot, the wind changes direction and every movement carries a higher cost. This guide connects the confirmed 2026 race information with practical decisions on pacing, hydration, fit, equipment reliability and race-week preparation.
| Race detail | Confirmed information | Preparation impact |
|---|---|---|
| Date | Saturday, October 10, 2026 | Build heat, travel and equipment preparation around an autumn championship in tropical conditions |
| Location | Kailua-Kona, Hawaii, United States | Plan for ocean swimming, exposed roads, strong sun and international travel |
| Format | Single race day for women and men | Expect a major championship environment with dense logistics and high competitive pressure |
| Distance | 3.8 km swim, 180.2 km bike, 42.2 km run | Prioritise sustainable aerodynamics and protection of the marathon |
| Bike focus | Long rolling roads and exposure around the route to Hawi | Train stable steering, low power variability and repeatable aero posture |
The 2026 edition marks the return to a unified championship day in Kona. IRONMAN has announced that women and men will race together again at the historic Hawaii venue, with nearly 3,000 athletes expected. That change matters beyond the start list. It brings a larger championship operation, greater race-week intensity and more demand on athletes to control everything that can be controlled before race morning.
The correct response is not to add complexity. It is to remove uncertainty. Finalise the cockpit early. Record the fit. Test the exact hydration sequence. Decide where the computer sits. Confirm how the bike will be packed and rebuilt. The championship already supplies enough pressure, so equipment decisions should become routine before travel.
Athletes should use the official race page and final athlete guide for confirmed check-in, transition, start and road information. Course documents can be updated closer to race week. Preparation should therefore separate confirmed demands from assumptions. The distance, location, heat, exposure and championship format are already enough to shape a serious plan without inventing details.

The race begins with a 3.8 km ocean swim in Kailua Bay. Open water changes the preparation compared with a protected lake. Athletes need confidence with salt water, glare, navigation, contact and the possibility of surface movement. The first objective is not to force a fast opening. It is to settle breathing, find usable water and leave the swim with the upper body ready for a long day in the cockpit.
Swim preparation should include sustained open-water rhythm and sighting without lifting the head excessively. A tense neck and elevated shoulders can carry directly onto the bike. The better transition is physiological and postural. Exit the water controlled, move through transition with a rehearsed sequence and allow the first bike kilometres to organise heart rate, breathing and nutrition.
The 180.2 km bike is the central strategic problem. The route follows the exposed landscape north from Kona toward Hawi before returning. Long rolling sections can create high speed, but the course is not a passive time trial. Wind direction, gusts, road gradient and accumulated heat continually change the pressure on the athlete and the front wheel.
Crosswind stability begins with body position. When the elbows are supported and the hands are relaxed, steering inputs become smaller and more controlled. When the cockpit is too narrow, too low or too stretched, athletes often grip harder and steer from the hands. That response increases tension and makes sudden wind feel more aggressive.
The goal is not to remain aero at any cost. The goal is to stay aerodynamic whenever control is secure, then move deliberately when braking, climbing, cornering or wind exposure requires it. A reliable cockpit makes these transitions clean. You should know where the hands go, how the shoulders stay organised and how quickly you can return to the pads without searching for the position.
The 42.2 km run is where bike decisions become visible. Heat, hydration, muscular fatigue and pacing errors accumulate before the athlete reaches the marathon. A fast bike split that damages the ability to cool, eat or run is not an efficient bike split.
Run preparation should begin on the bike. Keep power variability under control. Drink before thirst becomes urgent. Use an aero posture that leaves the hips and shoulders functional. The first kilometres of the marathon should feel deliberately conservative. Kona rewards athletes who can continue making clear decisions when the environment and fatigue make every decision more difficult.
Heat management is often discussed as nutrition and acclimation, but the cockpit also changes how well an athlete can execute a cooling plan. A bottle that is difficult to reach creates delayed drinking. A computer that requires repeated head movement adds unnecessary tension. Pads that concentrate pressure make the athlete move more often, which increases effort and interrupts rhythm.
Wind exposes the same weaknesses. A relaxed athlete with supported forearms can absorb a gust without overcorrecting. A tense athlete with poor contact points may sit up repeatedly, grip the base bar or make abrupt steering movements. Those posture breaks cost aerodynamic time, but more importantly they consume attention and energy that should be saved for pacing.
For IRONMAN Kona 2026, treat hydration access, forearm support and steering confidence as one system. Test them together in outdoor conditions. Indoor riding can validate comfort and power, but it cannot show how the front end behaves when wind loads the bike from the side.

The fastest Kona position is not the lowest silhouette in a photograph. It is the posture that preserves breathing, control and nutrition access deep into the bike leg. The position should allow the shoulders to stay down, the hands to stay light and the head to find a clear line of sight without constant neck extension.
Start with pad contact. The forearms need enough support to reduce pressure and prevent the elbows from drifting. Then set reach so the shoulders do not feel pulled forward. Adjust stack only as low as breathing and visibility allow. Finish with pad width, extension angle and wrist support.
Our guide to triathlon aerobar measurements explains how to record pad width, reach, stack, extension length and tilt. Use those values as a baseline, then change one variable at a time. A written fit log is especially valuable for a fly-away race because it gives you a precise rebuild reference after travel.
| Fit area | Race-day target | Warning sign |
|---|---|---|
| Pad support | Forearms settle without searching or sliding | Elbows drift and hands grip harder |
| Reach | Shoulders remain relaxed while breathing stays open | Upper body feels like a plank or knees approach the elbows |
| Stack | Low enough for speed, high enough for clear breathing and vision | Neck strain, shoulder elevation or repeated sitting up |
| Width | Stable control without closing the chest | Twitchy steering or restricted breathing |
| Tilt | Wrists feel neutral and the body stays anchored on the pads | Hand pressure, sliding or constant grip changes |
At Tetsuo, we would begin with the athlete’s current position, bike interface and adjustment needs. Products should solve a defined problem. They should not create a new position simply because race week is important.
Masamune is our complete carbon cockpit route for athletes who want an integrated system built around long-course support, adjustable wrist angle and modular accessories. Its unidirectional carbon monocoque body, cushioned forearm support and K Wedge options create a structured platform for athletes who already understand the position they want to reproduce.
For Kona, the relevant advantage is not appearance. It is repeatability. A stable body, controlled hand position and clean accessory integration can reduce the number of posture breaks across 180.2 km. The correct configuration still depends on the athlete and mounting interface, so use our Compatibility Guide before ordering or changing hardware.
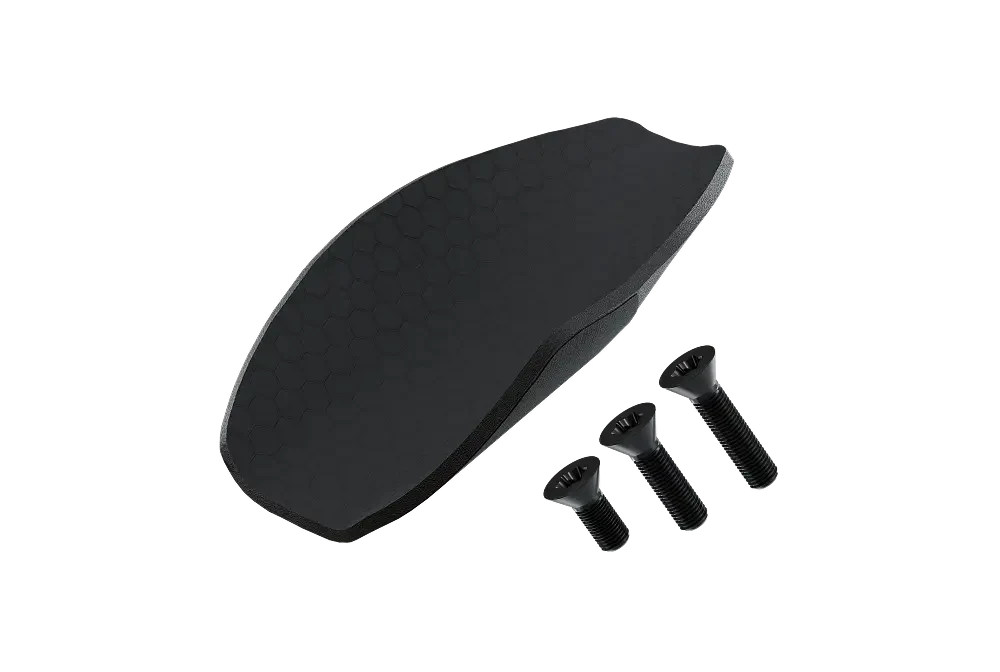
TAO X3 uses carbon armrests, removable EVA foams and compatible K Wedge adjustment to improve the support point without requiring the same complete cockpit route. It can suit athletes who want a cleaner forearm interface and a more adaptable path while refining fit.
TAO X3 is compatible with major dual-stack systems and is not designed for central-stack interfaces. That distinction should be confirmed before purchase. Compatibility is a technical requirement, not a race-week detail.
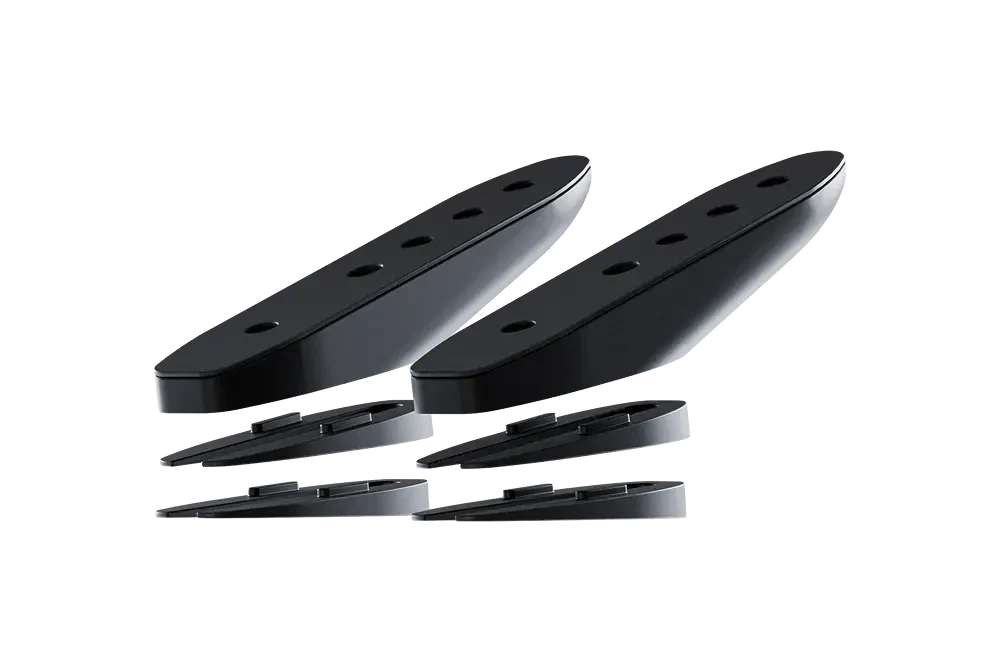
K Wedges provide repeatable angle options at 10, 15 and 20 degrees when used with the relevant configuration. Tilt can help support the forearms and reduce wrist extension, but it should be tested progressively. More angle is not automatically better. The correct angle is the one that improves support without compromising vision, handling or neck comfort.
A between-the-arms bottle only helps when it is easy to use. The hand path should be short and familiar. The bottle should return to its holder without visual searching. The rider should not need to lift the chest, spread the elbows or twist the shoulder every time a drink is taken.
Our adjustable bottle holder allows the bottle angle to be refined around the athlete’s position. Pair that decision with the principles in our aerobar hydration guide. The objective is simple. Drinking should happen on schedule without becoming a separate movement pattern.
Data visibility follows the same logic. The Garmin and Wahoo holder is designed to place the device within the cockpit system. The screen should be visible with minimal head movement. Test the display under bright light and while riding outdoors, because a position that works on a trainer may become difficult to read in direct sun.

Kona pacing should feel controlled before it feels fast. The first part of the bike is a poor place to prove fitness. Athletes leave the swim energised, surrounded by championship competitors and exposed to speed changes. The better choice is to establish nutrition, breathing and posture before making any aggressive decision.
Ride the rolling terrain with low power variability. Let speed change while effort remains disciplined. Into a headwind, avoid chasing the number on the screen with excessive power. With a tailwind, continue eating and drinking even when the road feels easy. In crosswinds, keep the upper body quiet and prioritise control over a forced aero position.
The cockpit should support this restraint. If the pads create pressure or hydration requires awkward movement, the athlete starts negotiating with the bike. Every negotiation makes pacing less automatic. Solve those points during training so race power can be directed into forward movement rather than upper-body tension.
The final ten weeks should confirm the setup, not reinvent it. The following progression keeps changes early and race-specific validation late.
| Timing | Primary task | What must be confirmed |
|---|---|---|
| Weeks 10 to 8 | Measure and define the baseline | Pad contact, reach, stack, width, tilt and compatibility |
| Weeks 7 to 6 | Test one adjustment at a time | Breathing, neck comfort, wrist angle and stable shoulder position |
| Weeks 5 to 4 | Complete long outdoor aero blocks | Crosswind control, bottle access and screen visibility |
| Week 3 | Use the complete race setup | Hydration, computer, nutrition storage and all fasteners |
| Week 2 | Record final measurements and packing photos | Exact rebuild reference after travel |
| Race week | Rebuild, inspect and complete a short validation ride | Alignment, torque, shifting, braking and familiar contact points |
Use our article on adjusting aerobar position when refining the fit, then follow the Assembly Guide for the correct installation workflow. The most useful rule is to change only one major variable before each meaningful test.
Flying to Hawaii creates a separate performance challenge. A position can be correct before travel and wrong after the bike is rebuilt. Small changes in pad alignment, extension angle or bottle position may be enough to make the cockpit feel unfamiliar.
Before packing, photograph the bike from the side, front and rider view. Record pad width, extension length, wedge angle and accessory positions. Mark removable components where appropriate. Pack small hardware, foams and tools in an organised kit so the rebuild does not depend on memory.
After arrival, rebuild with enough time to inspect rather than rush. Complete a short ride that includes braking, shifting, several aero blocks, a bottle removal and return, and a check of the computer view. Do not use the first post-travel ride to improve the position. Use it to restore the position you already validated.
Our guide to triathlon aerobars maintenance provides a practical inspection routine for fasteners, foams, accessory mounts and alignment. Dedicated items in our spares collection can also help avoid improvised race-week replacements.
A championship can tempt athletes to lower the front end, narrow the pads or extend the reach close to race day. Those changes may look faster but they alter breathing, handling and muscular load. If a new position has not survived long outdoor rides, heat and wind, it is not ready for Kona.
Indoor riding is useful for controlled fit analysis, but it removes wind, steering, braking and road vibration. A position can feel stable on a trainer and nervous outdoors. Validate the complete system on exposed roads before travel.
A bottle mount is part of the posture. If the hand path is awkward, the athlete changes shoulder position every time they drink. Install hydration early enough to test it with race power and fatigue.
Visual memory is not precise. A few millimetres can change how the shoulders, wrists and neck feel. Record the setup before packing and restore it using numbers, not estimation.
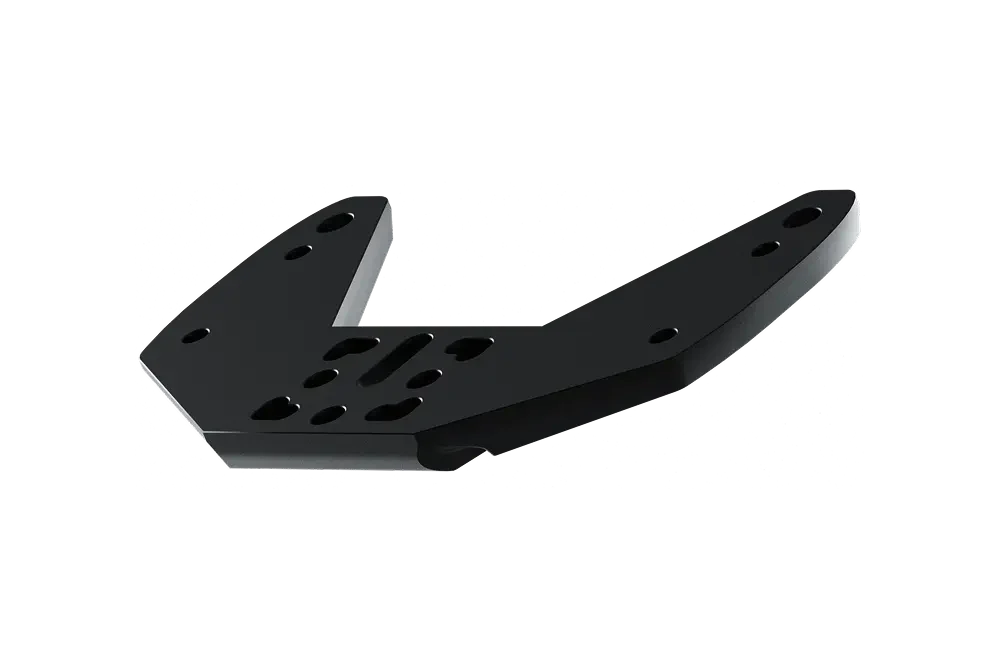
A creak, loose accessory or compressed foam can make an athlete grip harder and shift position. Inspect these details before deciding that the bike fit itself needs to change. Our accessories collection, plates collection and spares are there to solve defined integration, compatibility and maintenance needs.
For IRONMAN Kona 2026, we would start with five questions. Can the athlete breathe deeply at race power. Can they steer from supported forearms. Can they drink without lifting the chest. Can they read the computer in bright outdoor conditions. Can they return to the same contact points after sitting up.
If those answers are yes, the position has a strong foundation. We would then confirm compatibility, fastener condition, pad support and accessory stability. Masamune makes sense when the athlete wants a complete carbon system with integrated adjustment and accessories. TAO X3 makes sense when the priority is a simpler carbon support upgrade on a compatible dual-stack interface.
The final goal is not to create a cockpit that looks prepared for Kona. It is to create one that feels familiar when the race becomes hot, windy and difficult. The fastest setup is the one that keeps working after the novelty of race morning has disappeared.
IRONMAN Kona 2026 is scheduled for Saturday, October 10, 2026 in Kailua-Kona, Hawaii. Women and men will race on the same championship day. Athletes should confirm final race-week times and procedures in the official athlete guide.
The event uses the full-distance format with a 3.8 km ocean swim, 180.2 km bike leg and 42.2 km marathon.
The challenge comes from the distance, exposed rolling roads, heat and changing wind. Athletes need disciplined power, stable handling and an aero position that remains usable while drinking, eating and monitoring effort.
The best setup is stable, measured and sustainable. Prioritise forearm support, relaxed shoulders, natural wrist angle, accessible hydration and clear computer visibility. The exact components depend on the athlete and bike interface.
No major position change should be introduced during race week. Use the final days to restore the validated setup after travel, inspect hardware and confirm that the bike feels familiar.
Train outdoors on exposed roads, keep the upper body relaxed and practise moving between the pads and base bar deliberately. Wheel choice and riding decisions should match personal handling confidence, while the cockpit should provide stable forearm contact.

GETTING YOU FASTER
Configure your Masamune