




Triathlon Aerobar Maintenance for Reliable Race-Day Performance

Triathlon aerobar maintenance should protect the position you already know works. A fast cockpit is not finished when the fit is dialled in. Sweat, repeated loading, travel, cleaning, accessory changes and small movements at contact points can gradually change how the front end feels. The best maintenance routine keeps those changes small, visible and easy to correct before they affect comfort, control or confidence.
We design our systems around repeatable adjustment, which means maintenance should be just as repeatable. The objective is not to dismantle the cockpit every week. It is to preserve the same pad support, reach, tilt, wrist angle and accessory position that you have already validated in training. If something starts to feel different, maintenance gives you a mechanical baseline before you make a new fit decision.
This updated guide focuses on the parts that matter most in real use: carbon surfaces, EVA foams, screws, wedge interfaces, hydration hardware, computer mounts and the measurements that let you rebuild the same position after transport. If you are working on a new installation rather than maintaining an existing one, start with our triathlon aerobar installation guide and keep our Assembly Guide open during the build.
Aerobar problems often begin as small changes rather than obvious failures. One pad compresses more than the other. A bottle holder starts to vibrate on rough roads. A screw settles after a rebuild. An extension moves a few millimetres during travel. None of these changes looks dramatic in isolation, but each one can alter the way your body uses the cockpit.
When forearm support becomes uneven, the body reacts. You may grip harder, load one shoulder more or sit up sooner. Before changing reach or tilt, clean the system, inspect the interfaces and compare the setup with your known baseline.
For our Masamune and TAO X3 systems, the product specifications list a recommended screw tightening range of 4 to 7 Nm. That range is a useful reminder that the correct tool matters. A torque wrench gives you a repeatable reference. Hand feel does not.
Before cleaning deeply, removing accessories or loosening hardware, record the position you want to preserve. Take clear photos from the side, from above and from the rider view. Add measurements for pad width, reach, extension position and tilt. If your setup uses spacers, wedges or a dedicated plate, photograph their order as well.
Our guide to triathlon aerobar measurements explains how to turn the front end into repeatable numbers. That reference becomes especially valuable after air travel, a bike case rebuild or a deep service. Instead of trying to remember where everything sat, you can return directly to the measured position that already worked.
The most effective routine is linked to riding conditions rather than a rigid calendar. Indoor sweat, hot weather, rough roads and frequent travel shorten the interval between checks. Use the table below as a working baseline and increase the frequency whenever the cockpit is exposed to more stress.
| When | What to check | Main objective |
|---|---|---|
| After sweaty sessions | Wipe carbon, dry foams, inspect visible hardware and accessory movement | Prevent residue buildup and catch new movement early |
| Every month | Check screw torque, pad alignment, extension symmetry, wedges and mounts | Keep the known position mechanically repeatable |
| Every quarter | Remove accessories, clean contact zones, inspect foam compression and hardware condition | Find wear that is hidden during quick checks |
| Before travel | Photograph the setup, record measurements and prepare key spares | Make the rebuild predictable |
| After travel | Rebuild to reference, verify torque and complete an outdoor validation ride | Confirm stability before the next key session |
| Before an important race | Inspect the full cockpit without changing a proven fit | Reduce last-minute mechanical uncertainty |
For our carbon components, routine care is intentionally simple. Wipe the carbon fibre with a clean cloth and water. That is enough for normal sweat and road residue, and it keeps the surface easy to inspect. The point of cleaning is not only appearance. A clean surface makes it easier to see marks, scratches, movement at interfaces and changes that deserve a closer look.
Remove bottles and the computer if they block access. Clean under the armrests, along the extensions and around interfaces where sweat can dry. Clean first, inspect second and adjust hardware only when there is a reason.
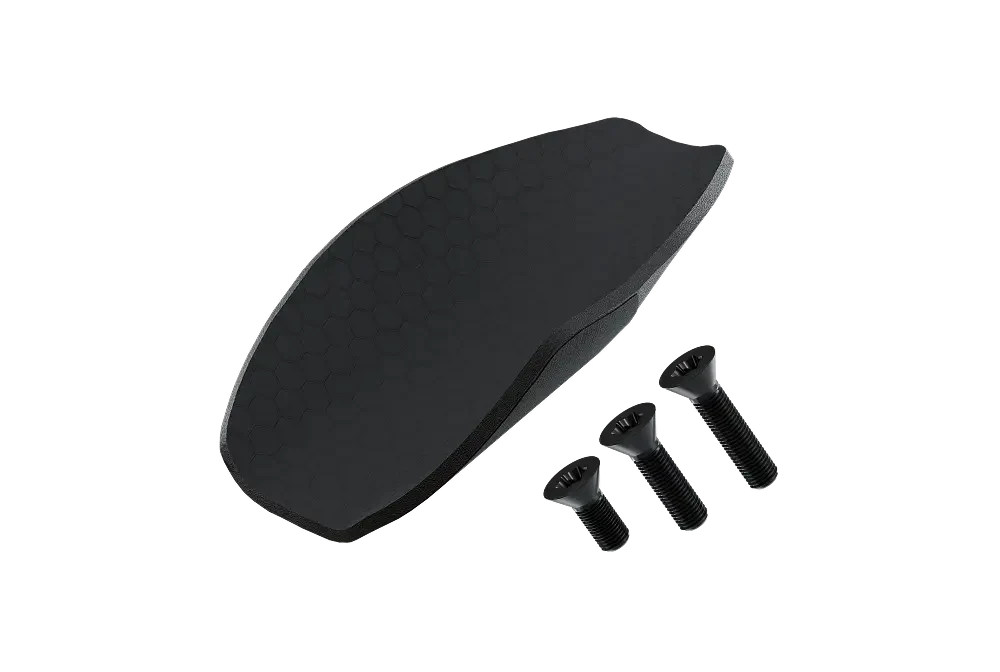
The foams are the part you feel on every ride, so their condition affects perceived fit quickly. Our Masamune Foams and TAO X3 Foams use Arai EVA foam with hook-and-loop attachment. They are designed to resist moisture, but they are still contact components that should be checked for compression, loss of grip and uneven support.
Let foams dry fully after wet or very sweaty sessions. We also recommend protecting EVA foam from prolonged sun exposure because excess heat can make it expand and lose its intended form. During travel, do not leave spare foams loose on a dashboard or the bike sitting in direct heat for long periods if you can avoid it.
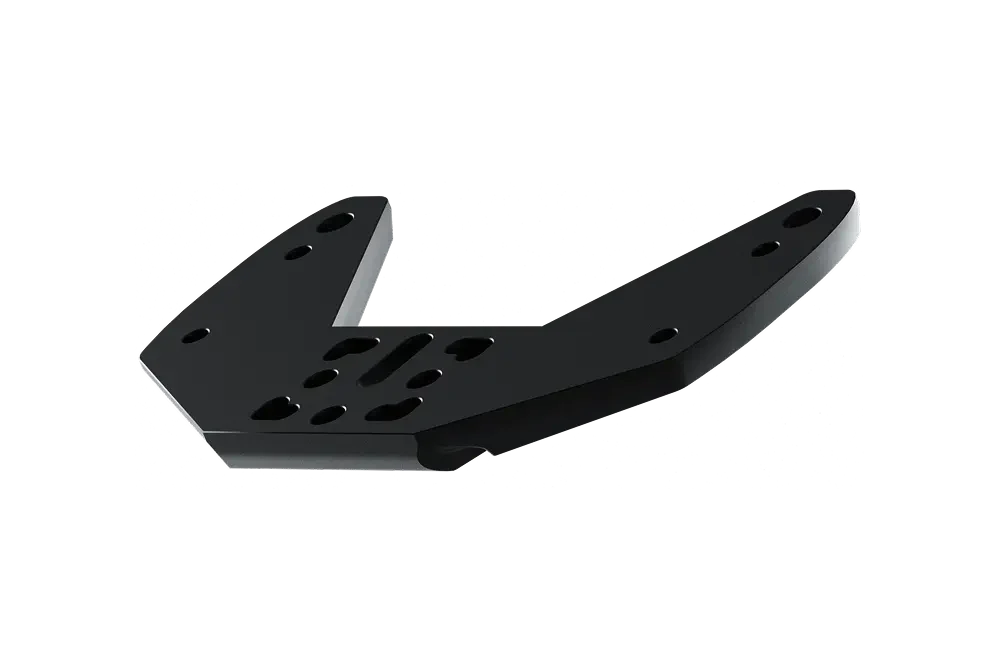
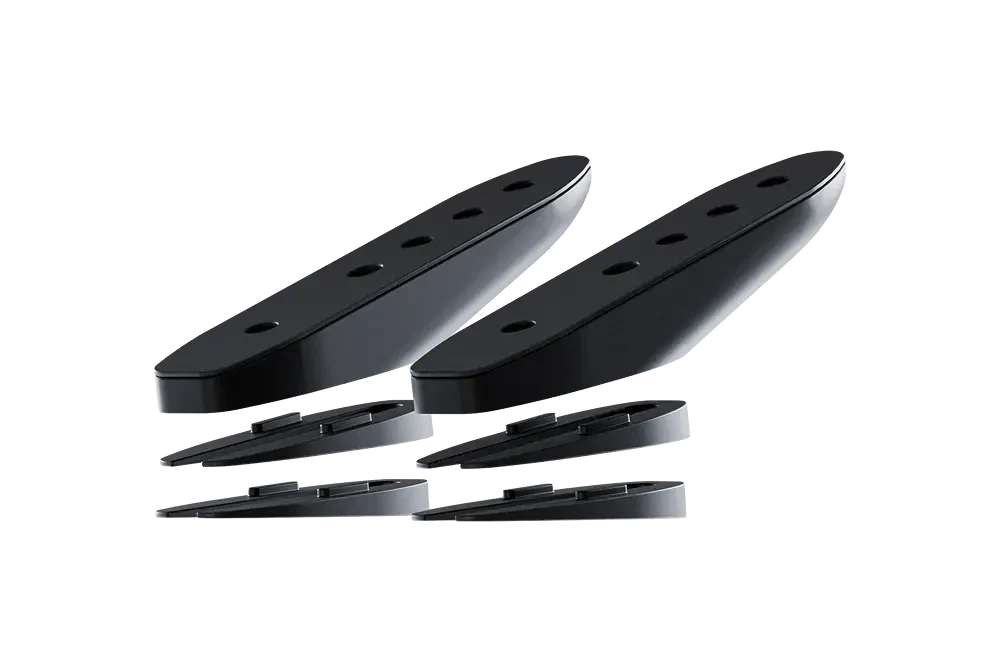
If your setup uses K Wedges, inspect the contact faces when the system is apart. The wedges are machined from 7075 aluminium and are available in 10, 15 and 20 degree configurations. Maintenance is mainly about clean seating, correct hardware order and repeatable reassembly. A wedge should not become the place where dirt, damaged hardware or rushed tightening is hidden.
Over-tightening and under-tightening create different problems, but both reduce confidence in the cockpit. Too little preload can allow movement. Too much force can damage threads, hardware or carbon interfaces. Use a calibrated torque wrench and follow the specification for the exact parts in front of you.
On current Masamune and TAO X3 specifications, our published recommended screw tightening range is 4 to 7 Nm. Do not treat that number as permission to set every cockpit fastener to the same value. Accessories, bike interfaces and third-party components can have their own specifications. The correct value always comes from the part being tightened.
A torque check is not useful if the screw head is already damaged. Look for rounded tool engagement, corrosion, damaged threads or washers that no longer sit correctly. Replace hardware when it no longer gives you a clean, repeatable interface. We keep dedicated replacement screws and additional parts in our accessories and spares collection so you do not need to improvise around worn hardware.
When multiple fasteners control the same component, seat the assembly progressively. Bring the hardware up evenly, verify alignment, then apply final torque. After the first rides following a rebuild, inspect again. New assemblies can settle slightly, especially after travel or when several interfaces have been opened at the same time.
Compressed padding can imitate a position problem. If one side has lost thickness, the shoulders may no longer sit evenly. If both foams have become slick or flat, you may push harder through the hands to stop the forearms moving. Before moving the extensions or changing pad coordinates, compare foam shape from left to right.
Replace the foams when support quality changes, not only when they look old. The clearest signals are permanent flattening, loss of secure hook-and-loop attachment, uneven rebound, visible damage or a sudden need to reposition the forearms during long aero blocks. A new fit adjustment cannot restore a contact surface that no longer supports the rider properly.
After replacing the pads, ride the same setup before changing anything else. That helps separate wear from a genuine fit need.

Tilt and reach are fit variables, but the hardware that creates them is mechanical. If you run a wedge system, plate or modular adjustment, each contact face should be clean and correctly seated. Any unexplained change in hand position after transport or service deserves a comparison with the reference photos you recorded earlier.
Our K Wedges are designed to create repeatable 10, 15 or 20 degree configurations. That repeatability is useful only when the assembly goes back together in the same order and alignment. If you need to change the position intentionally, use our aerobar position guide and treat the adjustment as a fit decision rather than as maintenance.
This distinction matters. Maintenance restores a known configuration. Fit work changes that configuration. Keeping the two jobs separate makes troubleshooting much faster.
A bottle or computer mount is not separate from cockpit stability. Anything attached between or around the extensions can introduce vibration, noise or awkward movement if the hardware loosens. During monthly checks, inspect every accessory with the same attention you give the arm supports.
Check that bottles enter and leave the cage smoothly without moving the support. Inspect the mounting hardware for witness marks and verify that the bottle location still works from the aero position. Our Bottle holder plus Bottle holder bar uses a 7075 aluminium bar designed to support one to three bottles through standard cage mounts. If you use a BTA Wedge, include that interface in the same inspection.
If you suddenly need more body movement to remove a bottle, check whether the mount has rotated or shifted before changing your riding position.
Inspect the Garmin/Wahoo Holder for movement and make sure the screen remains readable without forcing the head higher than usual. A computer that slowly rotates down can encourage repeated head movement and break the stable posture you built around the cockpit.
A new sound is information. Do not respond by tightening every bolt. Work through the system one interface at a time so you can identify the actual source. Start with the point where the sound or movement appears under load, then work outward.
| Symptom | First checks | Next action |
|---|---|---|
| New creak during hard efforts | Fastener seating, wedge or plate contact, accessory movement | Clean the suspected interface and verify the correct torque |
| One forearm feels lower | Foam compression, pad alignment, hardware symmetry | Restore the reference position before changing fit |
| Extensions move under load | Main fixing hardware and visible contact marks | Stop riding until the interface is correctly inspected and secured |
| Bottle rattles on rough roads | Cage screws, holder hardware, bar position | Secure the accessory and retest with a full bottle |
| Computer angle changes | Holder attachment and mounting insert | Reset the viewing angle and verify the attachment |
| Fit feels different after travel | Pad width, reach, tilt, left-right symmetry | Rebuild from saved photos and measurements |
If you see visible structural damage, unexplained deformation or anything that makes you question the integrity of a carbon component, stop using it until it has been assessed appropriately. Maintenance is not a substitute for structural inspection after a significant impact.
Bike travel combines partial disassembly, vibration and rushed reassembly. Before packing, photograph removable parts, record key measurements and keep small hardware organised so left and right parts do not get mixed.
On arrival, rebuild mechanically before you assess fit. Follow the Assembly Guide, restore your saved measurements, confirm symmetry and apply the correct torque. Then complete an outdoor validation ride that includes steady aero time, a few controlled accelerations and normal bottle use. A short spin around a hotel car park does not reproduce the loads that reveal movement.
Do not use the first post-travel ride to experiment with a new position. Restore the known baseline first. If the cockpit still feels wrong after the hardware and measurements match, then you have useful evidence that a fit change may actually be needed.
Race week is for verification, not reinvention. Confirm that the system still matches the setup you validated in training.
If nothing has changed, leave the fit alone. A stable, familiar cockpit is more valuable on race morning than a last-minute adjustment that has never been tested under fatigue.
Some cockpit components are wear items. Maintenance keeps them useful for longer, but it does not make them permanent. The decision to replace should be based on function and condition rather than an arbitrary date.
Permanent compression, loss of grip, uneven thickness or unreliable hook-and-loop attachment are all reasons to replace padding. Use the correct replacement for the system so the contact shape and attachment remain consistent.
A screw with a rounded head, damaged thread or visible corrosion no longer gives you the same confidence during torque application. Replace it before it becomes the weak point in a travel rebuild or race-week adjustment.
Wedges, plates and mounting parts are designed for repeated use, but interfaces still deserve inspection after frequent changes. Look for damaged seating surfaces, hardware that no longer engages cleanly and any sign that the assembly is not returning to the same position. If a component no longer gives you repeatability, replacing it is more useful than continuing to compensate around it.
A creak does not automatically mean a loose screw. It can come from contamination, poor seating, accessory movement or another interface entirely. Find the source before adding torque.
If foam compression or asymmetry is the real problem, moving the pads hides the symptom and changes a position that may already be correct.
A spotless cockpit can still be mechanically wrong. Finish every deeper clean by comparing left-right symmetry and your reference measurements.
Hydration and computer hardware experience the same vibration and travel loads as the rest of the front end. Include them in the maintenance routine instead of waiting for a rattle to appear.
The easiest way to turn a simple service into a fit problem is to dismantle the cockpit without recording where it was. Measurements and photos are part of maintenance, not paperwork after the fact.

Do a quick visual check after sweaty or rough rides, inspect the full cockpit monthly and complete a deeper review every few months or before major race travel. Increase the frequency if you ride indoors often, travel regularly or adjust the cockpit repeatedly.
For our carbon systems, use a clean cloth and water for routine care. The aim is to remove sweat and residue while keeping the surface easy to inspect. Always follow the care guidance for the exact components on your bike.
Our current Masamune and TAO X3 specifications list a recommended screw tightening range of 4 to 7 Nm. Use the correct value for the exact interface you are tightening and check the relevant product or assembly documentation rather than assuming every fastener uses the same setting.
Replace them when they are permanently compressed, uneven, damaged, losing grip or no longer staying securely attached. If your forearms start moving more than usual, inspect the foams before changing the fit.
Yes. Rebuild from your saved photos and measurements, verify hardware and alignment, then validate the cockpit outdoors before the next important session. Travel can create small changes that are difficult to see on a work stand.
Stop using the affected component until the damage has been assessed properly. Routine cleaning and torque checks are preventive care, not a repair method for structural damage.

より速くお届けします
Masamuneをカスタマイズ