

How to install triathlon aerobars with a stable, repeatable process

How to install triathlon aerobars is not just a workshop task. It is the process that decides whether your cockpit feels locked in, calm under load, and sustainable for the full bike leg. A good setup does not start when you tighten the first bolt. It starts when you confirm compatibility, define your baseline, and install each part in the right order.
If you are working with a Tetsuo front end, keep the process clean. Start in the Aerobars collection, check the Compatibility Guide, and keep the Assembly Guide open while you work. That removes guesswork before it turns into noise on the road.
The fastest way to waste time is to mount everything first and discover later that your bike needs a different interface. Tetsuo makes this simple. The compatibility workflow separates bikes by mounting architecture and points you toward the hardware that matches your front end. That matters because a stable cockpit depends on the interface as much as the aerobar body itself.
Before you touch the bike, confirm three things. First, identify whether your setup can take the aerobar directly or whether it needs a plate. Second, check the mounting points and available space around the front end. Third, decide which cockpit direction fits your riding. Masamune is positioned as the higher performance option for athletes chasing maximum aerodynamics, ergonomics, and stability. Tao is framed around comfort and a more aerodynamic position with a simpler build path.
This step is not administrative. It protects everything that follows. When the interface is wrong, you compensate with spacers, rushed alignment, or forced hand position. That is where an install starts to look complete but rides poorly.
Tetsuo already gives you the pages you need. The Compatibility Guide tells you whether the bike can accept the setup directly or needs extra hardware. The Assembly Guide is there for the physical mounting sequence. The recent article How to Adjust Aerobar Position for Speed and Comfort is the right follow-up once the cockpit is on the bike and you want to refine pad contact, reach, stack, and width.
A precise install is easier when the bike is stable and your references are clear. Put the bike in a stand if you have one. Clean the contact areas. Lay the hardware out in order. Keep a tape measure, the right Allen keys, and a torque wrench within reach. Tetsuo lists core workshop tools such as Allen keys, a torque wrench, a measuring tape, and a small level in its long-form buyer's guide because accuracy depends on repeatable reference points, not on eye-balling the job.
Then capture your baseline. Measure your current pad stack, pad width, and extension length if you are replacing an older system. Take one side photo and one front photo before removing anything. These references do two things. They shorten your path back to a known position if the first test ride feels wrong, and they stop you from changing five variables at once.
If you are building a new setup from scratch, define a conservative starting point. You are not trying to discover the final race position in the stand. You are trying to install a stable cockpit that you can fine tune with intent once the parts are secure.
The order matters because each choice affects the one after it. Mount the interface first. Then the main body. Then the contact points. Then the extensions. Finish with the fine adjustments. When athletes skip this sequence, they often end up chasing symmetry at the end instead of building it in from the start.
Remove anything that blocks access. Wipe the area until it is clean and dry. Inspect the bolts and threaded points before you install fresh hardware. If your setup includes cable routing through the front end, plan that path now. Tetsuo's 2026 guide highlights cable planning as part of handlebar preparation for exactly this reason. You want a cockpit that remains serviceable after travel, maintenance, and race-week rebuilds.
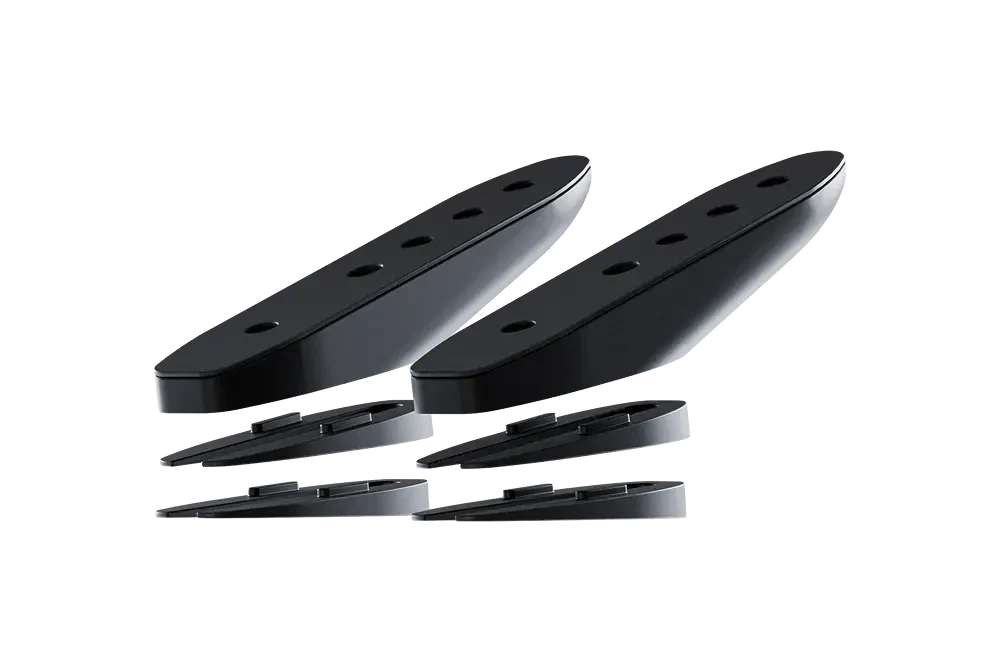
Some front ends accept the aerobar directly. Others need a plate to create the right interface. If your bike falls into the second group, do not improvise with mismatched parts. Install the correct plate first, align it carefully, and confirm that it sits flush before adding the rest of the cockpit. This is the foundation piece. If it is off by a few millimetres, the rest of the build inherits the error.
Do not fully lock everything at the first touch. Snug the hardware enough to hold alignment while still allowing controlled micro-adjustments. That makes it much easier to center the cockpit once the full structure is in place.
Once the interface is ready, install the main aerobar body. Work from the center outward and keep checking symmetry as you go. The easiest trap here is visual bias. A front end can look centered from above and still sit slightly rotated when viewed from the front. Step back, use fixed reference points on the bike, and keep the body straight before tightening further.
This is also the right moment to decide whether you need extra range in angle or reach. Tetsuo's K-Wedges are designed to add controlled adjustment rather than forcing you into spacer stacks that are hard to repeat. On the product page, Tetsuo notes reach adjustment from 0 to +42 mm and the option to use an adaptor to increase tilt up to 20 degrees. That is useful when the hardware is supporting a clear fit goal, not when it is covering up a poor install.
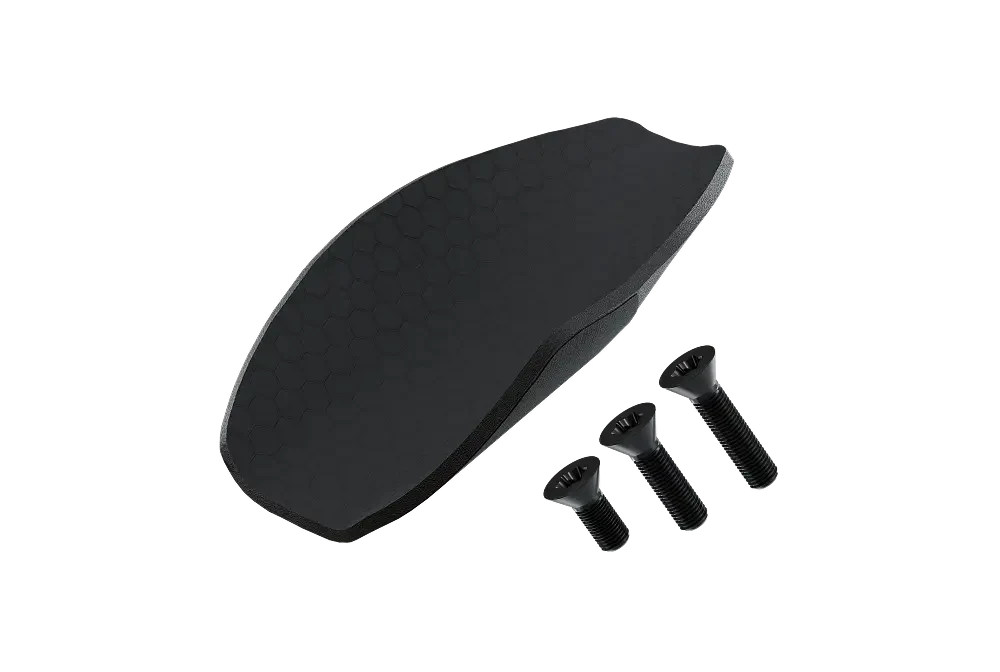
Install the pads only after the main structure is aligned. Pads are your contact point, so they shape comfort, steering feel, and breathing. Extensions come next because their orientation should match the pad position rather than dictate it. This sequence mirrors Tetsuo's current fit logic. In the latest adjustment guide, pad contact comes first, then reach, then stack, then width.
At this stage, resist the temptation to chase a visually aggressive position. A lower front end is only useful when you can support it with quiet shoulders, relaxed hands, and clear breathing. Build the contact points first. Speed comes from holdability.
Once everything is mounted, move from hardware to posture. This is where many installs drift away from performance. Riders often focus on extension angle or drop first because those changes are easy to see. The better sequence is to tune what your body feels first.
Tetsuo's most recent fit guidance is direct on this point. Your forearms should be supported from the elbow into the mid forearm rather than balanced on a tiny pressure point. Good pad contact reduces over-gripping and helps the shoulders settle. Poor pad contact creates constant micro-corrections, and those corrections show up as tension in the neck, hands, and lower back.
After pad contact, adjust reach so the shoulders can stay calm. If the position feels like a plank, it is usually too long. If you feel cramped and closed off, it is often too short. Then work on stack. Tetsuo's fit article makes a useful point here. A tiny increase in stack can improve breathing enough that you stay aero longer, which is often faster than forcing a lower setup you cannot hold.
Width shapes control. When the front end feels twitchy or unstable, a little more width can settle the bike and open the chest. Tilt shapes wrist comfort and forearm support. This is where K-Wedges and their adaptors make sense because they give you repeatable angle changes instead of improvised solutions. If you need more wrist support deep into a long ride, add tilt with hardware designed for the load, then retest the full position.
| Checkpoint | What to verify | Why it matters | Useful Tetsuo resource |
|---|---|---|---|
| Compatibility | Mounting architecture, hardware path, need for a plate | Prevents forced fixes later in the build | Compatibility Guide |
| Mounting order | Interface first, body second, pads third, extensions last | Keeps alignment clean and repeatable | Assembly Guide |
| Pad contact | Forearm support from elbow to mid forearm | Reduces grip tension and shoulder load | Adjustment guide |
| Angle and reach | Controlled tilt and measured extension changes | Improves comfort without creating instability | K-Wedges |
| Product choice | Performance first or comfort first direction | Matches the cockpit to the rider, not just the bike | Masamune and Tao |
Only move to final torque once the position is coherent. Tighten in stages and keep checking that nothing shifts while the hardware seats. Tetsuo's compatibility guidance lists a recommended screw tightening range of 4 to 7 Nm for Masamune setups, which is a useful reminder that cockpit hardware is not the place for guesswork. Use the correct value for your exact parts and follow the assembly instructions for your configuration.
Then test the setup like an athlete, not just like a mechanic. Ride indoors first if possible. Sit on the pads for two minutes at steady effort. Check for hot spots at the forearms, extra pressure through the hands, shrugging at the shoulders, or a head position that feels forced. After that, take the bike outside and validate under real steering load. A cockpit that feels fine on the stand can still drift into tension on the road.
Recheck the bolts after the first few rides. New builds settle. That final inspection is part of the install, not an optional extra.
The most common mistake is treating the cockpit like a shape problem instead of a contact problem. Riders see a pro-looking front end, copy the silhouette, and skip the details that make it rideable. The result is a setup that photographs well and performs poorly.
The second mistake is changing too much at once. Tetsuo's fit article explicitly recommends a single-variable approach because once you alter stack, width, reach, and tilt together, you no longer know which change fixed the issue or created it. Keep one adjustment anchored while you test the next.
The third mistake is buying parts in the wrong order. The smarter sequence is to begin with the interface and compatibility check, then choose the body, then use wedges or extra hardware only when they solve a known fit problem. Tetsuo's article on common mistakes when choosing a cockpit is useful here because it keeps the focus on progression rather than on forcing the most aggressive build from day one.
If you want the cleanest workflow, use the resources in this order. Open the Aerobars collection to choose the platform. Use the Compatibility Guide to confirm the bike interface. Check the Assembly Guide while mounting. Once the cockpit is secure, use the adjustment article to refine contact and posture. Then go deeper with the complete triathlon aerobars guide if you want a broader view on fit, installation, and long-course use.
This order mirrors the way a good cockpit is built. First the hard interface. Then the structure. Then the body position. It is simple, practical, and repeatable.
You do not need wind tunnel data to know whether the first install is close. A stable cockpit has a specific feel. You settle onto the pads without searching for them. Your hands guide the bike rather than hanging on to it. Your shoulders can stay down instead of creeping toward your ears. Your head finds a natural line of sight without forcing the neck into constant extension.
Tetsuo describes a good aero position in practical terms. You should be able to relax your grip, keep pressure off soft tissue, and hold the posture for meaningful time rather than for a short display effort. That is a useful installation check because it pulls the focus away from appearance and back to repeatability.
If the setup feels nervous, do not assume the answer is always lower or narrower. Often the right move is more support. That can mean a cleaner pad position, a small width change, or a controlled tilt adjustment. The install is doing its job when the cockpit stops asking for constant corrections and starts letting you ride at race effort with less noise.
A cockpit should leave room for adaptation. Many athletes install a front end once and expect the first configuration to be the final one. That approach usually leads to rushed changes just before an event. Tetsuo's own content consistently points toward progression. Start from a build you can ride well now. Then refine it as your mobility, control, and tolerance improve.
This matters even more if you are moving into a more performance-driven setup such as Masamune. A precise cockpit rewards deliberate adjustments. If your priority is a more straightforward path centered on comfort and aerodynamic improvement, Tao may be the cleaner starting point. Neither choice works well when the install is rushed. Both work better when each change is measured and validated.
That is also why Tetsuo's wider resource set matters. The article on mistakes when choosing a cockpit keeps you from solving the wrong problem. The longer 2026 buyer's guide adds context on tools, setup logic, and installation flow. Use those pages to build a process you can repeat every time the bike is rebuilt after travel or maintenance.
No. Start from support and breathing, then refine height. A position you can hold is faster than a lower one you abandon after a few minutes.
Not always. Add wedges when you have a clear reason such as better wrist comfort, more forearm support, or a measured need for extra reach. Hardware should solve a known fit issue.
Recheck bolt security, confirm the cockpit stayed aligned, and note any pressure in hands, shoulders, neck, or lower back. Small early corrections are easier than large late ones.
Yes. Pad contact defines support. Extension angle matters, but it works best after the pads, reach, and stack already make sense.
Start with the Compatibility Guide and compare options in the Aerobars collection. That gives you the right hardware path before you commit to the build.

GETTING YOU FASTER
Configure your Masamune