


Trek Speed Concept Aerobars for a More Adjustable Aero Position


Trek Speed Concept aerobars are part of a highly integrated front end, so changing the arm support system is not the same as fitting a generic clip-on to a standard road handlebar. The important question is not only whether a new aerobar can be attached. It is whether the complete interface, reach, tilt, hand position, hydration and computer placement can work together without creating movement or forcing an unsustainable posture. At TETSUO, we solve that problem with Masamune and a dedicated TREK plate selected according to the brake platform of the bike.
This guide explains how to approach the upgrade without guessing. We cover the difference between the TREK Rim and TREK Disc plates, the role of Masamune, the fit variables that matter most and the installation checks that should be completed before the bike is used outside. The objective is simple: a clean cockpit that supports a repeatable aerodynamic position and remains practical to adjust over time.
The Speed Concept front end is designed as a system. The base bar, towers, spacers, arm supports, extensions, shift wiring and accessories all occupy a compact area. That integration is one of the reasons the bike can look so clean, but it also means an upgrade has to respect the original mounting architecture.
On a conventional dual-stack cockpit, the mounting points may already match the adjustment range of an aftermarket arm support. On the Speed Concept, the interface can require a dedicated plate between the bike and the aerobar. Our TETSUO Compatibility Guide lists Trek Rim Brake and Trek Disc Brake among the bicycles that use an additional plate with Masamune.
For a Speed Concept build, the core TETSUO solution is Masamune combined with the plate that matches the bike. Masamune is our carbon cockpit platform built around arm support, wrist position and modular adjustment. The body is made from unidirectional carbon fiber and includes a wire track to keep the front end organized.
The compatibility route is different from the standard Dual Stack installation. Rather than relying only on the mounting distance of the base bar, the Speed Concept uses the dedicated plate as the bridge between the original cockpit and Masamune. This is why identifying the brake version is the first practical step.
| Speed Concept configuration | TETSUO interface | Key documented detail |
|---|---|---|
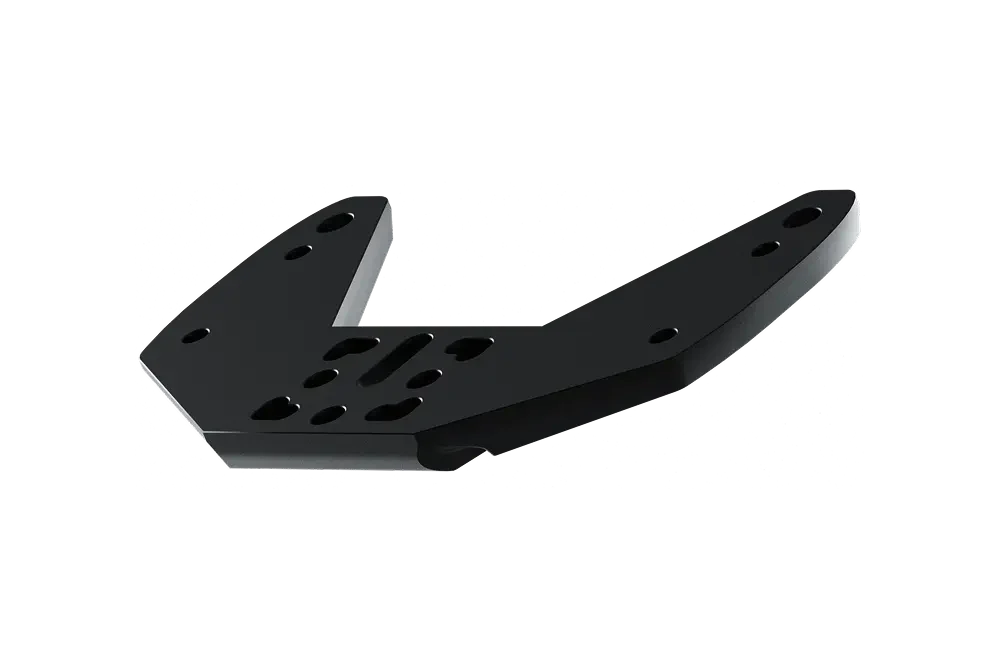
| Rim brake | Plate TREK (Rim) | 7075 aluminium with 0 to +25 mm reach adjustment |
| Disc brake | Plate TREK (Disc) | 7075 aluminium dedicated interface for the disc platform |
If the bike history is unclear, do not select the plate from photographs alone. Confirm whether the bicycle is the rim-brake or disc-brake platform and compare the mounting area with the product information. If there is still uncertainty, the Masamune configurator includes the option to send us detailed cockpit photos and the bike model so we can review the mounting point before the order is completed.
The Plate TREK (Rim) is manufactured from black anodized 7075 aluminium. Its product specification includes an additional reach range from 0 to +25 mm. That adjustment is useful because the correct aerobar position is not defined by height alone. Moving the arm support forward or backward changes shoulder angle, elbow placement, head position and the amount of load that reaches the hands.
Reach should be treated as a fit variable, not as a target number. A longer position can feel fast for a few minutes while becoming difficult to hold once fatigue builds. A shorter position can improve support but may close the torso too much or place excessive load through the elbows. The useful setting is the one that lets the rider remain settled without repeatedly sliding on the pads or bracing through the hands.
When using the rim-brake plate, start from the rider's existing coordinates whenever possible. Record pad stack, pad reach, pad width and extension position before disassembly. Those measurements give you a baseline and make it easier to understand what each change actually does.
The Plate TREK (Disc) is also manufactured from black anodized 7075 aluminium. It is a separate product because the Speed Concept disc cockpit uses a different interface from the rim-brake version. The correct approach is therefore not to treat the two plates as interchangeable.
Integrated cockpits can vary between generations even when the bicycle name remains the same. Trek service documentation for the current platform shows model-specific tower hardware and internal shift-wire routing, so confirm the exact bike before fitting replacement front-end components.
Compatibility only gets the hardware onto the bike. The larger performance gain comes from being able to tune the position around the rider. Masamune is designed to make that process more precise.
Elbow support should feel stable without forcing the shoulders inward. Our current compatibility information lists a 140 mm elbow spacing reference for Masamune. Before building the final cockpit, the rider can reproduce that spacing on a sheet of paper, place the elbows on the marks and check whether the position feels natural. This simple test does not replace a bike fit, but it helps identify an obvious mismatch before installation.
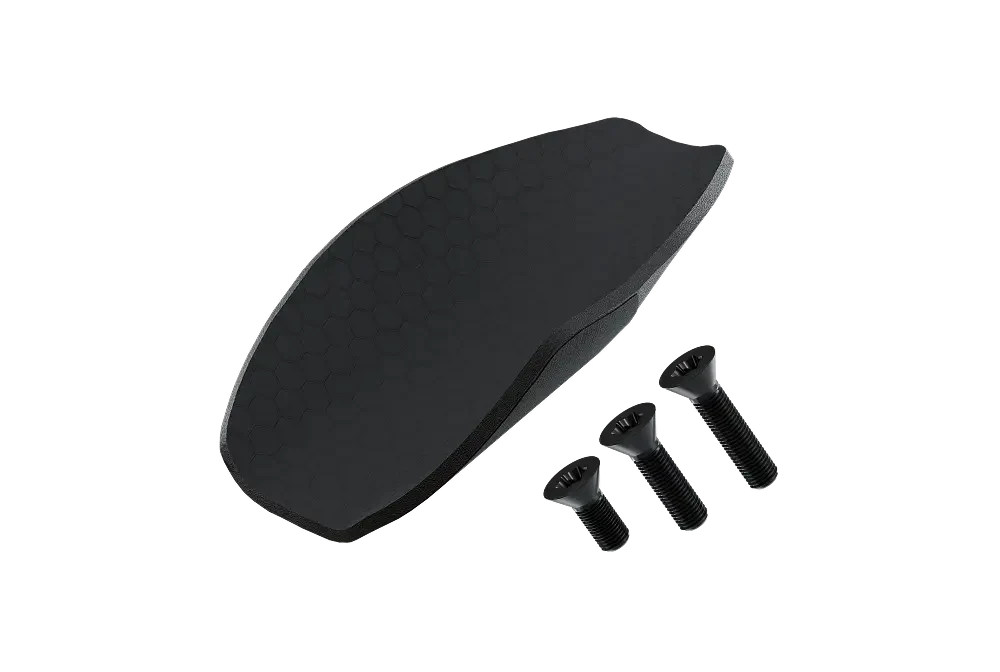
Masamune includes an adjustable handgrip concept so the wrist angle can be fine-tuned. This matters on long triathlon rides because an extension can have the correct overall tilt while still placing the wrist in an uncomfortable orientation.
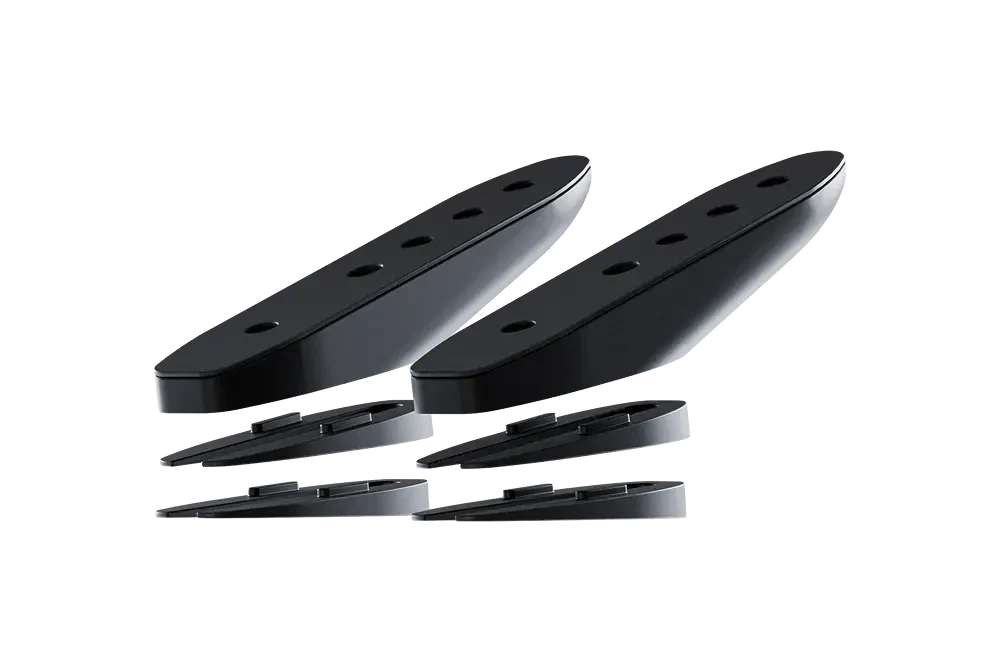
For riders who need more hand height or a different forearm angle, K Wedges add a structured way to change the cockpit. They are made from 7075 aluminium and are available around a 10 degree base option, with K Wedge Adaptors used to increase the angle to 15 or 20 degrees.
The K Wedges product specification also provides up to +60 mm of reach adjustment. That range makes it possible to alter tilt without assuming that the original fore-aft position must remain unchanged. Tilt and reach interact. Raising the hands can change how the shoulders settle, while moving the support forward or backward changes how much pressure reaches the elbows.
| Adjustment | What it changes | What to monitor |
|---|---|---|
| More tilt | Hand height and forearm angle | Shoulder relaxation, head position and wrist comfort |
| More reach | Distance from the rider to the front support | Elbow stability and ability to remain on the pads |
| Less reach | Brings support closer to the rider | Torso space and breathing comfort |
| Grip rotation | Changes wrist orientation | Forearm tension and hand pressure |
Make these changes one at a time. If reach, tilt and grip rotation are all modified together, it becomes difficult to know which variable improved the position and which one created a new problem.
A cockpit should be tested for the way it performs after one, two or four hours, not only for how aggressive it looks in a photograph. Start by reproducing a familiar position. If the previous setup was comfortable, use its coordinates as the first reference rather than starting from the maximum available adjustment.
Our article on how to adjust aerobar position follows the same principle. Build a repeatable baseline, test under realistic fatigue and keep the changes small enough that their effect can be understood.
Before removing the original components, take photographs from the side and above. Measure the center of the pads relative to a fixed reference on the bike. Record the pad width and the position of the hands. If the saddle position is not changing, keep it untouched while evaluating the new front end.
Aerodynamics depend on time spent in the aerodynamic posture. A theoretically lower position is not useful if the rider sits up every few minutes. Support should allow the elbows to remain planted, the hands to stay relaxed and the neck to tolerate looking forward.
Use the TETSUO Assembly Guide as the primary installation reference for Masamune with a plate. The bicycle manufacturer's service information should also be followed for the original cockpit hardware. Do not apply a generic torque value across every bolt in an integrated front end.
Our detailed guide on how to install triathlon aerobars expands this process and explains why compatibility should always be checked before tools come out.

Plan wire routing before every bolt is fully tightened. Masamune includes a wire track, but the route still has to respect the original cockpit architecture. Avoid pinching wires, leave enough freedom for controls and steering, and recheck routing after reach or tilt changes. The finished cockpit should also allow practical inspection of fasteners and electronic controls.
Hydration should be considered during the fit process, not added after the position is finished. The bottle has to be reachable without lifting the chest or moving one elbow away from the support.
Our Bottle holder plus Bottle holder bar is designed to integrate with the TETSUO cockpit and can support one to three bottles. The bar is made from 7075 aluminium and works with standard bottle cage mounts. For a deeper setup process, read our guide to aerobar hydration.
Start with the smallest hydration solution that supports the race plan. More bottles are not automatically better if they interfere with hand position, computer visibility or access. Test removing and replacing the bottle while riding at realistic intensity. If the rider has to lift the torso every time, the bottle position needs more work.
A computer should be visible with minimal head movement and should not force the hands apart. The Garmin/Wahoo Holder is part of our cockpit accessory ecosystem and gives the rider a dedicated place for the head unit within the front-end build.
Set the riding position first and the computer second. If the mount is installed before the hands and bottle are finalized, it can occupy the space needed for a more natural grip. Once the hand position is stable, place the computer where the display can be checked with a short eye movement rather than a full change in head angle.
Do not treat the first completed assembly as the final position. A cockpit should go through a short validation cycle before it is trusted for a race.
Start indoors at endurance intensity and check elbow contact, wrist neutrality and shoulder relaxation, then add short race-intensity blocks. Outdoors, use a familiar route with varied surfaces and controlled turns. Test drinking and every shift control without lifting the torso unnecessarily. After the first rides, inspect the complete front end again and investigate any movement before applying more torque.
The first mistake is ordering a plate without confirming whether the bicycle is the rim-brake or disc-brake configuration. The product names are intentionally separate because the interfaces are different.
The second mistake is changing too many fit variables at once. A new cockpit often creates excitement to try more reach, more tilt and a more aggressive hand position immediately. That makes the result harder to evaluate. Preserve a known baseline and move progressively.
The third mistake is treating extension tilt as the only way to improve comfort. Wrist angle, pad support and reach can solve problems that a steeper extension angle cannot.
The fourth mistake is ignoring hydration and the computer until the end. Both occupy valuable space between the arms. Include them in the mock-up before declaring the fit finished.
Masamune is most relevant when the rider wants more control over the complete front-end position rather than replacing only a foam or a single extension. The system combines carbon arm support, adjustable wrist orientation, dedicated fit hardware and accessories within one cockpit ecosystem.
For the Speed Concept, the dedicated TREK plate is what makes that ecosystem usable on the original integrated interface. The rim version adds documented reach adjustment through the plate, while the disc version provides its own dedicated mounting solution. From there, K Wedges can extend the fit range and accessories can be integrated around the final position.
If you are comparing the broader factors that define a good triathlon front end, our guide to the best triathlon aerobars explains why stability, ergonomics and repeatability matter more than choosing a component on weight or appearance alone.
Yes. Our compatibility guide lists Trek Rim Brake and Trek Disc Brake as compatible with Masamune when the appropriate additional plate is used. The plate must match the bike's brake platform.
Use Plate TREK (Rim) for the rim-brake interface and Plate TREK (Disc) for the disc-brake interface. If the exact platform is uncertain, verify the bicycle before ordering or send us detailed cockpit photos through the Masamune configuration process.
Yes. The Plate TREK (Rim) product specification lists reach adjustment from 0 to +25 mm. Final reach should be selected around the rider's ability to remain supported rather than simply using the maximum available setting.
Yes. K Wedges provide a 10 degree option and the K Wedge Adaptors can increase the angle to 15 or 20 degrees. The wedges also provide additional reach adjustment, so tilt and fore-aft position should be evaluated together.
They are the best starting point if the previous position was comfortable. Record the old pad stack, reach, width and hand location, reproduce them as closely as practical, then change one variable at a time after testing.
Yes. Our cockpit ecosystem includes the Bottle holder plus Bottle holder bar and Garmin/Wahoo Holder. Position the rider first, then place the accessories so they do not compromise hand position, visibility or bottle access.

GETTING YOU FASTER
Configure your Masamune