


How to Prepare for Desafío Doñana 2026


Desafío Doñana 2026 takes place on Saturday 17 October in Matalascañas, Huelva, with the Atlantic coast and Doñana landscape shaping a race that demands more than steady fitness. The event combines the traditional middle-distance triathlon with the Spanish Long-Distance Triathlon Championship and the Spanish Long-Distance Aquabike Championship. For the bike leg, the central objective is clear: build a cockpit that stays supportive, controllable and easy to use when wind, changing rhythm and accumulated fatigue begin to affect posture.
At Tetsuo, we read this event through the front end of the bike. The middle-distance race includes a coastal two-lap bike segment, while the national long-distance formats extend the time athletes must manage pressure, hydration and position. The fastest setup is not the one that looks most aggressive before the start. It is the one that lets you settle onto the pads, relax the hands, see the road, drink on schedule and return to the same posture throughout the race.
| Detail | Confirmed information | Preparation impact |
|---|---|---|
| Date | Saturday 17 October 2026 | Plan race-specific training, travel and equipment checks around an autumn coastal event |
| Location | Matalascañas, Huelva, Spain | Prepare for Atlantic conditions, exposed roads and a beach-based run environment |
| Middle distance | 1.9 km swim, 72 km bike and 20 km run | Prioritise repeatable aero position, controlled power and fast access to hydration |
| Spanish Long-Distance Championship | 3 km swim, 110 km bike and 30 km run | Build greater position endurance and protect the ability to run after a longer bike load |
| Spanish Long-Distance Aquabike Championship | 3 km swim and 110 km bike | Optimise sustained cycling execution without compromising handling or fuelling |
| Registration period | 3 August to 5 October 2026 | Use the official competition pages for eligibility, category and final technical requirements |
The organiser has confirmed the traditional middle-distance route: a 1.9 km swim from Torre de la Higuera beach, 72 km of cycling over two laps on the Matalascañas to Mazagón road and a 20 km beach run toward Mazagón during a low-tide window. The long-distance and Aquabike distances are confirmed, but athletes should use the final technical guide for maps, start procedures, transition rules and any operational updates.
Check the official middle-distance competition page and the official national championship page before travelling. Confirmed information should always take priority over previous editions, third-party maps or assumptions based on the coastline.
The swim starts the postural challenge before the bike has moved. Open coastal water can add surface movement, glare, navigation demands and contact between athletes. A rushed opening or tense sighting pattern can leave the neck and shoulders loaded before transition. That tension often carries directly into the cockpit, where the athlete begins gripping rather than resting on the front end.
The confirmed middle-distance bike course uses two laps of the road between Matalascañas and Mazagón. A coastal corridor can reward aerodynamic discipline, but exposure changes the way speed is produced. Wind direction may alter the pressure on the rider and front wheel, while repeated turnarounds or changes in road rhythm require clean movement between the extensions and the controls.
Control begins at the contact points. Supported forearms, neutral wrists and appropriate pad width help the athlete steer with smaller inputs. When those elements are wrong, riders often sit up, overcorrect or use muscular tension to stabilise the bike.
The middle-distance run finishes with 20 km on the beach around Matalascañas and Doñana, scheduled to use a low-tide window. Sand and changing firmness can increase the cost of every kilometre. The long-distance championship adds a 30 km run after 110 km of cycling, which makes bike restraint even more important.
A position that closes the hips, overloads the shoulders or creates excessive saddle pressure may still produce a respectable early bike split. The problem appears when the athlete stands up to run. Protect the run by choosing a position you can sustain without constant compensation. Aerodynamics should reduce the cost of cycling, not move that cost into the final segment.

Position endurance is not the ability to remain motionless. It is the ability to stay organised while making small, useful adjustments. You should be able to relax the grip, move the shoulders, drink, check data and return to the same elbow contact without losing control. For the 72 km race, this preserves speed late in the second lap. For the 110 km formats, it becomes a core part of pacing.
Train long aero blocks outdoors. Indoor sessions can confirm comfort and power, but safe road sessions reveal how the position behaves in wind, over changing surfaces and after braking.
A fast-looking average speed can hide poor execution. Repeated accelerations after a turnaround, gust or slower section increase carbohydrate use and muscular load. Build speed progressively, hold pressure through the pedals and let the position reduce drag. Do not chase every temporary drop in speed.
Pace by a tested range rather than one rigid number. The pattern should remain smooth enough that posture, nutrition and decision-making are still organised near the end. A controlled 110 km ride should leave the athlete able to begin the 30 km run without immediate damage control.
Wind requires a position that gives the athlete confidence. If the bike feels nervous, assess pad contact, elbow width, reach, grip tension and head position one variable at a time.
The goal is not to stay aero in every situation. Move to the controls when road conditions, traffic, braking or a gust require it. Then return deliberately when the line is secure. A successful setup makes that transition predictable, so the athlete does not waste attention searching for the pads or rebuilding hand position.
Pad contact is the foundation of the system. Pressure should be distributed through a useful area of the forearm rather than concentrated at the point of the elbow. Incomplete support creates movement, and movement creates tension. The athlete grips harder, lifts the shoulders and changes posture to escape a small pressure point.
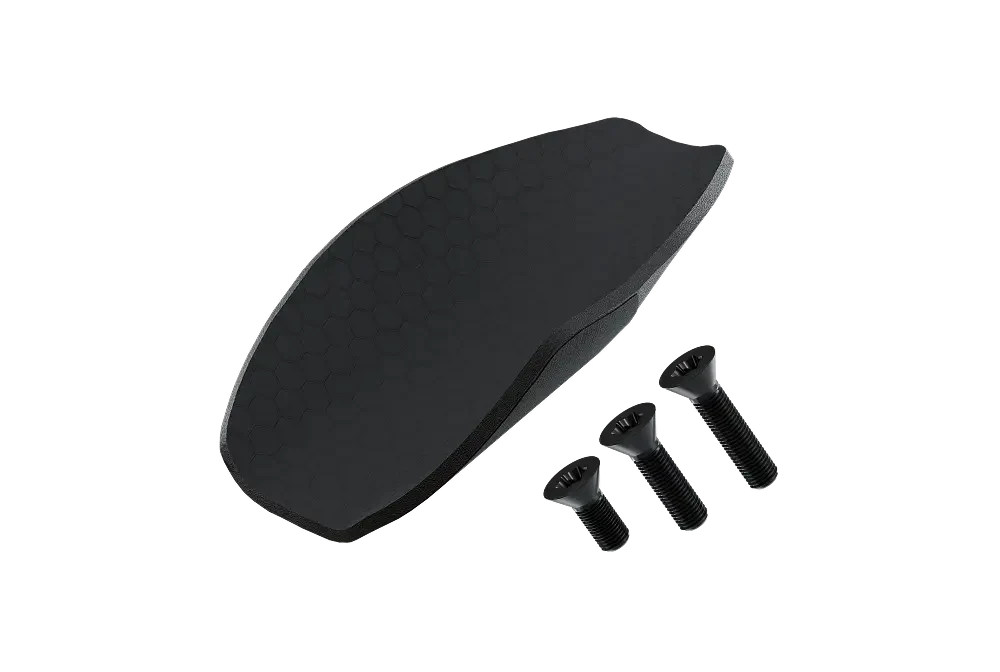
Check foam condition and symmetry well before the race. Worn or compressed contact material can make a familiar setup feel unstable. Our Spares collection includes replacement components for maintaining a consistent front end. Replace damaged or tired parts early enough to test them during long rides.
Reach should let the shoulders stay down and the upper back remain quiet. A setup that is too long pulls the athlete forward and increases hand pressure. A setup that is too short compresses the torso and can limit breathing. Establish a neutral baseline before changing angle.
Use our guide on how to adjust aerobar position to separate pad contact, reach, stack, width and extension angle. Change one variable, record the measurement and validate it outdoors. This method is slower than making several changes at once, but it produces a position you can understand and reproduce.
Wrist tension often develops gradually. The hands begin relaxed, then the wrists bend, the grip tightens and the shoulders rise as fatigue accumulates. A controlled extension angle can support the forearms and reduce the need to brace.
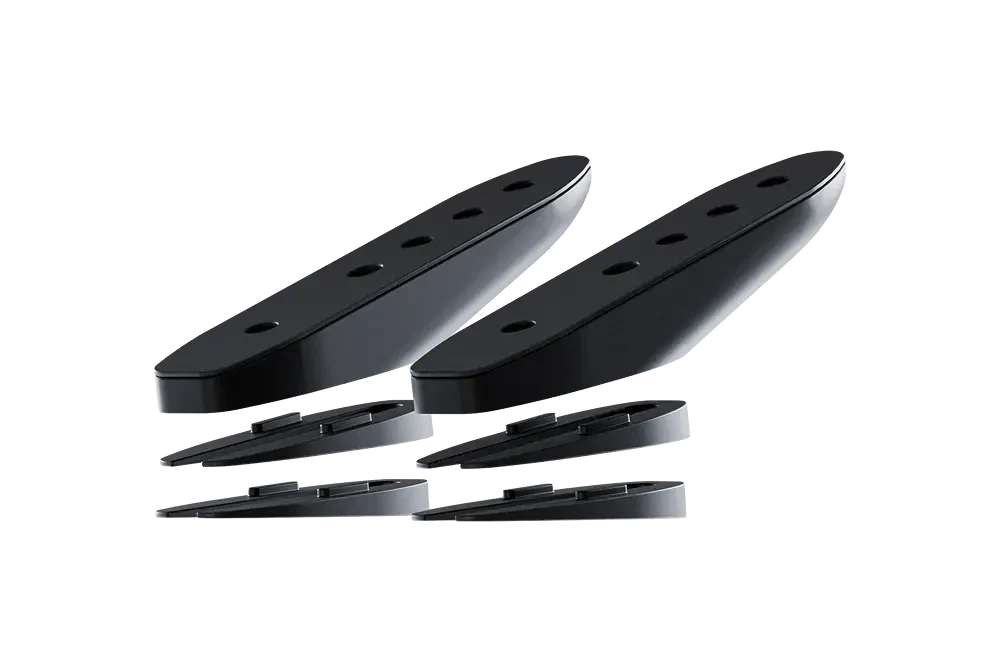
Our K Wedges provide repeatable 10, 15 and 20 degree options within the Masamune system. Use the smallest change that improves support. Confirm that visibility, braking, shifting and bottle access remain natural after the adjustment.
Drinking should not require a complete posture change. Place the bottle where the hand can reach it with a small, rehearsed movement while the opposite arm keeps the bike stable. Then test the full sequence under realistic effort: reach, drink, replace the bottle and return the hand without drifting from the line.
The same principle applies to the computer. Essential information should be visible with limited head movement. Our Accessories collection includes front hydration and computer-mount options designed to integrate these tasks into the cockpit. The equipment should support the nutrition plan, not dictate it.

We begin with the athlete and the bike interface, not with an aggressive target shape. Can the athlete breathe deeply in position. Can they see the road and computer. Can they drink without sitting up. Can they relax the hands when the road is exposed. Can they reproduce the posture after two or three hours. Those answers define the useful setup.
For athletes who want a complete carbon front-end system, Masamune combines a unidirectional carbon body, cushioned forearm support, adjustable hand position and integration with our wedge, hydration and computer-mount options. The objective is not to lock every athlete into one geometry. It is to create a measured platform that can be tuned for support, control and long-course execution.
Before ordering or changing hardware, use our Compatibility Guide. Some bikes install directly and others require a specific interface. Compatibility is a structural decision, not a detail to solve after purchase. The wrong interface encourages improvised spacing, poor alignment and difficult race-week rebuilding.
Once compatibility is confirmed, the Masamune configurator helps define the mounting, tilt, grip and accessory route. During installation, follow our Assembly Guide and the instructions for the exact configuration. Use the correct tools and tightening values, then recheck the front end after the first outdoor rides.
| Race need | Setup response | Tetsuo resource |
|---|---|---|
| Stable long-course support | Distribute pressure through the forearm and keep the shoulders quiet | Masamune |
| Measured wrist alignment | Test repeatable angle options without improvised hardware | K Wedges |
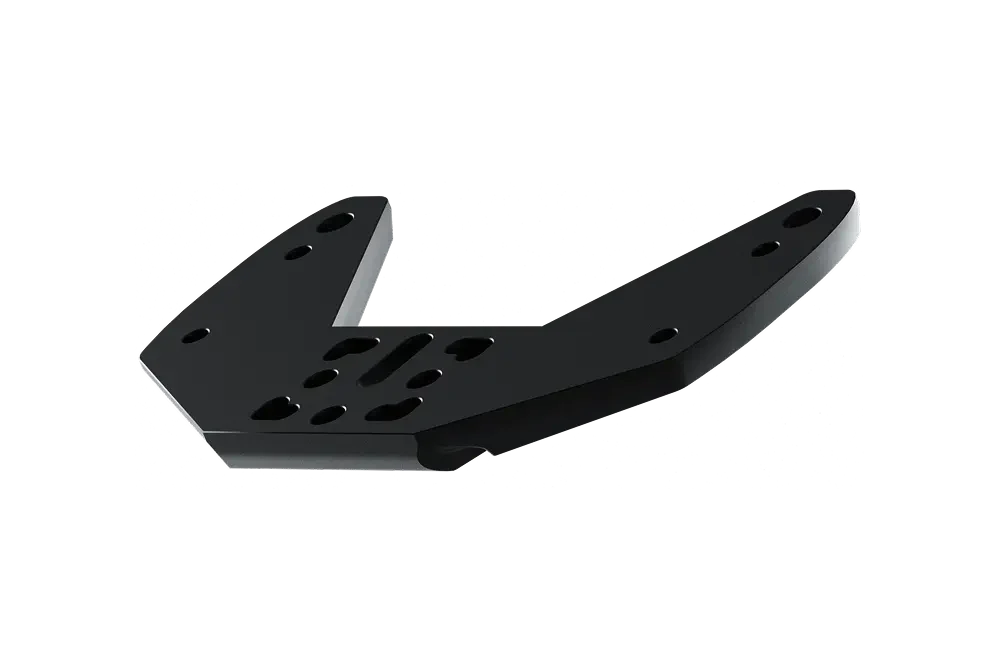
| Correct bike interface | Confirm direct mounting or the required plate before installation | Compatibility Guide |
| Accessible hydration and data | Place bottles and the computer within a natural hand and sight line | Accessories |
| Repeatable race-week rebuild | Record measurements and follow the correct mounting sequence | Assembly Guide |
Begin with a position that feels stable for controlled periods, then extend the time gradually. A useful progression might move from shorter 15 to 20 minute blocks toward longer race-specific intervals. The quality test is not simply whether you stayed aero. Review shoulder height, hand pressure, head stability, breathing and the ability to drink without breaking rhythm.
For the long-distance championship, include rides where the final hour contains purposeful aero work rather than easy riding. The body and cockpit must still cooperate when fatigue is present. For the middle-distance race, combine sustained blocks with clean turnarounds and repeated returns to the pads.
Use the bottles, concentration and timing planned for race day. Practise accessing each item safely at realistic effort. Check that bottle angle, grip position and computer location do not interfere with the hand path, then keep the tested arrangement unchanged through the taper.
Brick sessions should reproduce the change from sustained aero riding to running on less predictable ground. Controlled running on firm sand or stable mixed surfaces can develop cadence and foot placement. If the hips or lower back feel restricted immediately, review bike position and pacing.
Before packing, photograph the cockpit from the front and side. Record pad width, pad reach, extension exposure, tilt, bottle angle and computer position. Add clear reference measurements that let you rebuild the bike without relying on memory.
After arrival, complete the mechanical work with enough time for an outdoor check. Verify braking, shifting, bottle retention, computer visibility, pad security and every mounting point. Our article on installing triathlon aerobars provides a structured sequence for compatibility, mounting and validation.
Race week is not the moment to discover a lower stack, more reach or a new grip angle. Use the final days to confirm weather, technical documents, registration instructions and transition access. Coastal and tide-related operational information matters more than a generic seasonal assumption.
Inspect bolts, washers, plates, wedges, pads, grips, hydration mounts and computer mounts. Look for movement, wear, corrosion or damage. Use the correct assembly instructions for your setup and do not copy a tightening value from a different component.
Clean the contact surfaces and recheck the cockpit after the first local ride. If anything moves, sounds unfamiliar or feels asymmetrical, stop and resolve it before racking. Our guide to triathlon aerobar maintenance explains how consistent inspection protects fit and reliability.
| Checkpoint | What to verify | When to complete it |
|---|---|---|
| Compatibility | Correct interface, plate and mounting hardware for the bike | Before ordering or making a major change |
| Forearm contact | Even support, secure foam and no concentrated pressure points | During every long race-specific ride |
| Reach and tilt | Relaxed shoulders, neutral wrists, clear vision and stable control | Finalised several weeks before the race |
| Hydration | Easy access, secure retention and no conflict with steering | Tested at race effort and on outdoor roads |
| Computer position | Visible data with limited head movement | Confirmed before taper week |
| Fasteners | Correct components, sequence and tightening instructions | After assembly, after test rides and before racking |
| Travel references | Photos and measurements for rebuilding the exact position | Before the bike enters the case |
The middle-distance and long-distance formats share the same event environment, but they do not create the same fatigue profile. A position that is manageable for 72 km may become unstable over 110 km. Test the setup for the duration and intensity of the chosen race, not for the shortest version on the programme.
Lower is not automatically faster. If the pads do not support the arms, the athlete will grip, shrug and sit up. Solve pressure distribution, reach and wrist alignment first. Then lower the position only when breathing, visibility and control remain stable.
Bottle placement changes hand movement, head position and sometimes steering. Install the complete race system early and test it when tired. Do not assume that an accessory is integrated simply because it fits mechanically.
A minor noise or alignment change can indicate a loose or settling component. Stop, inspect and follow the correct assembly process.
The event is scheduled for Saturday 17 October 2026 in Matalascañas, Huelva. Athletes should confirm final start times, registration, transition access and briefing details through the official competition pages.
The traditional middle-distance race includes a 1.9 km swim, 72 km bike and 20 km run. The Spanish Long-Distance Championship includes a 3 km swim, 110 km bike and 30 km run. The Aquabike championship uses the 3 km swim and 110 km bike segments.
The confirmed middle-distance route uses two laps on the road connecting Matalascañas and Mazagón. Athletes should check the final course maps and technical guide for exact turn points, access rules and any changes.
The coastal setting can expose the rider to wind and changing road rhythm. Stable forearm support, relaxed wrists and predictable movement between hand positions help the athlete maintain control and preserve energy for the beach run.
Masamune is our complete carbon front-end route for athletes who want adjustable support, wrist positioning and accessory integration. Suitability depends on the bike interface and athlete position, so compatibility and fit must be confirmed before ordering.
Complete meaningful changes several weeks before the event so they can be tested during long outdoor rides, nutrition rehearsals and brick sessions. Taper week should preserve a validated position rather than introduce a new one.
Use the Federación Andaluza de Triatlón competition pages and the final technical documentation for registration, categories, schedules, maps and race rules. Official information should take priority over previous editions and third-party summaries.

GETTING YOU FASTER
Configure your Masamune