

How to Adjust Aerobar Position for Speed and Comfort

If you want free speed without chasing more watts, learn to adjust aerobar position with intent. The goal is simple: stay aero longer, breathe better, and keep your run legs intact.
A fast position is not the most aggressive one you can hold for five minutes. It is the position you can repeat for hours with stable shoulders, quiet hands, and a head that naturally tucks without forcing the neck.
Before you touch a bolt, set your success criteria. You should be able to settle on the pads, relax your grip, and keep pressure off the soft tissue. If your hands go numb, your traps light up, or you keep sliding forward, the setup needs work.
Stack and reach decide whether you can rotate your pelvis forward and keep your torso low without collapsing your breathing. Too low usually looks fast but forces you to shrug and crane your neck. Too high gives you comfort but costs aerodynamics.
Width controls stability. Narrow can be quick, but only if you can keep your scapulae set and your elbows tracking straight. A wider pad stance often unlocks better breathing and less upper-body fatigue on long rides.
Your wrists should not fight the extensions. When the wrist angle is right, steering inputs are clean and your hands stay relaxed. Systems that let you tune tilt and reach make this easier to get right.
Take photos from the side and front while you are pedaling at endurance power. Then do a two-minute aero hold. Rate discomfort from 1 to 10 in neck, shoulders, hands, and lower back. This baseline keeps you honest when you start making changes.
The fastest way to ruin a fit is to change five things at once. Use a single- variable approach, test, then lock it in.
Move pads so your forearms are supported from elbow to mid-forearm. If you perch only on the elbows, you will over-grip and overload the shoulders. If you sink too far forward, you will slide and chase stability.
In an efficient posture, your upper arms angle slightly forward, and your shoulders feel down and back rather than shrugged. If you feel like you are doing a plank, shorten reach. If you feel cramped and your knees threaten the elbows, add reach.
Drop stack only as far as you can keep a smooth, quiet breath. A tiny increase in stack can reduce strain and allow you to hold aero longer, which often wins over a lower but unsustainable setup.
If your cockpit feels twitchy, add width until you can steer with your forearms, not your hands. If you feel “blocked” in the chest, widen slightly and retest breathing at race effort.
When tilt is correct, your hands float. If your wrists bend sharply up or down, you will fatigue early. Small tilt changes can transform comfort and help keep your head lower.
Measure left to right. Mark your settings so you can rebuild after travel. For installation and tightening sequence, follow the official Tetsuo assembly guide.
| What you feel | What it usually means | First change to try |
|---|---|---|
| Neck pain after 20 to 30 minutes | Stack too low or reach too long | Raise pads slightly or shorten reach |
| Numb hands or tight forearms | Too much weight on hands, poor wrist angle | Increase pad support and adjust tilt |
| Shoulders burning | Pad width too narrow or reach too long | Widen pads or bring extensions back |
| Sliding forward on the saddle | Reach too long or pads too far forward | Move pads back and retest hip rotation |
| Hard to breathe at race power | Torso angle too closed | Add a touch of stack, then recheck width |
Aero works when your hips can rotate forward while keeping power smooth. If you close the hip angle too much, you will either rock on the saddle or sit up every few minutes.
You do not need to stare down. Aim for a neutral head with eyes forward. If you cannot see the road without lifting your chin, the front end is likely too low for your current mobility.
Test your setup when tired. A position that looks perfect fresh can collapse after two hours, and that is when aerodynamics disappear.
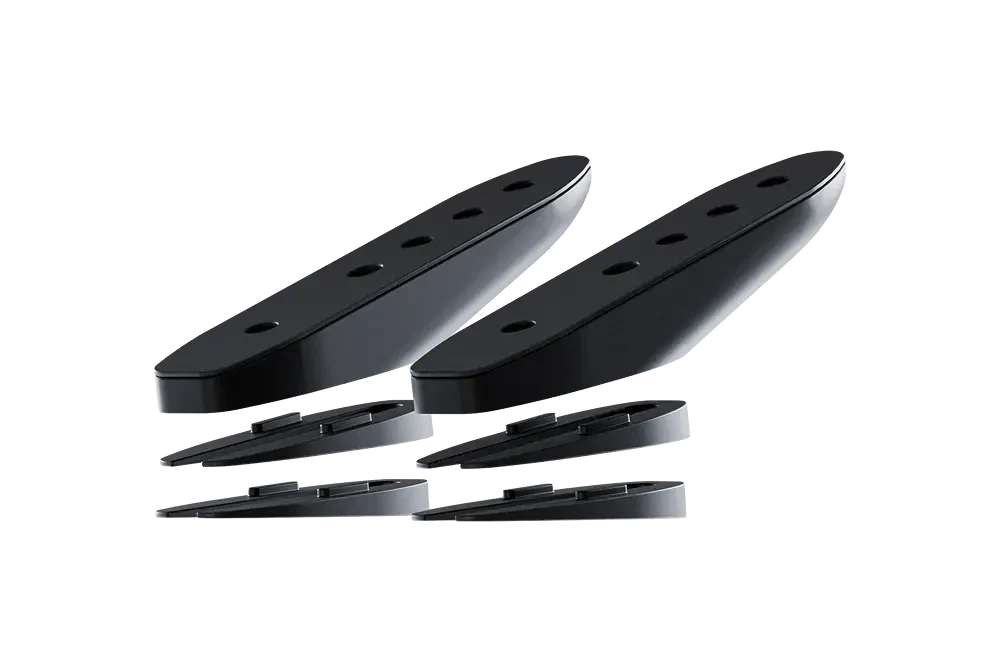
If you want a cockpit that is built around adjustability, start with Masamune aerobars. The system is designed with modular parts so you can iterate without hacks.
For controlled tilt and reach changes, K-Wedges add repeatable angle options and help you lock in a wrist position that stays comfortable deep into the ride. You can also browse the full Wedges collection for compatible fit hardware.
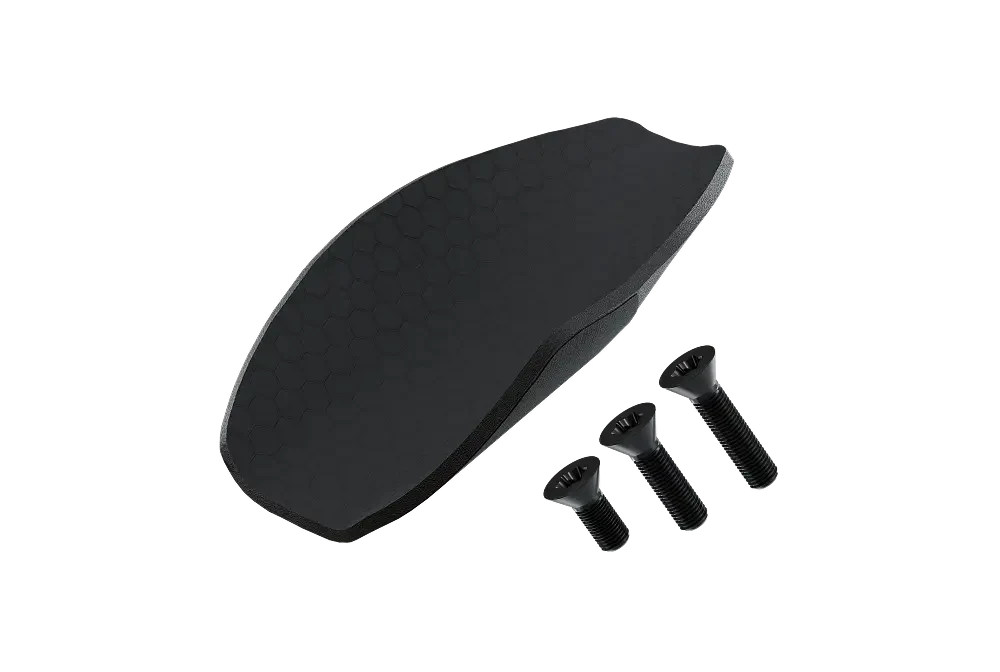
Comfort is not a luxury in long-course racing. Fresh padding keeps you planted so you can stay aero. If you need replacements, check Masamune Foams and other spares in Spares.
If your frame needs a dedicated interface, use the compatibility guide to confirm the correct plate, then explore Tetsuo plates.
Most athletes do not fail because they lack motivation. They fail because they chase an aero screenshot instead of a repeatable posture. If you want a deeper breakdown, read Best Aerobars for Triathlon: 7 Common Setup Mistakes.
If you are choosing a system from scratch, the Triathlon Aerobars 2026 performance guide lays out what matters when comfort and speed both count.
Most fit mistakes reveal themselves on a trainer because you remove road noise. Put the bike on the trainer, warm up, then hold aero for three blocks: 3 minutes easy, 3 minutes at endurance pace, 3 minutes close to race intensity. Record a short clip from the side and from the front.
Look for three signals. First, shoulder height. If your shoulders creep toward your ears, reach is usually too long or the pads are too narrow. Second, head stability. If the head bobs, you are fighting the front end. Third, elbow drift. If the elbows slide inward and outward, pad width or forearm support needs work.
This is where a controlled system helps. When you can change tilt and reach in small increments, you can adjust aerobar position and immediately feel whether the shoulders can relax and the hands can stay quiet.
The road is where steering, braking, and fatigue interact. Validate your setup on a loop you can repeat. Choose a straight section for aero work and a technical section for handling.
If you keep sitting up during the 8-minute blocks, do not blame your mindset. Something in the fit is pushing you out of aero. That is the moment to adjust aerobar position again, one variable at a time.
Pressure points are not just discomfort, they are the trigger for movement. Every time you shift to escape pressure, your frontal area changes and your breathing rhythm breaks.
Fresh, grippy padding can keep you planted during long efforts. If your pads are tired or saturated, replace them rather than compensating with a new fit. Tetsuo offers dedicated replacements like Masamune Foams and other options in Spares.
Aerodynamics do not live in isolation. Hydration access and data visibility decide whether you can stay composed. If you have to lift your head or open your elbows every time you drink, you are paying a hidden cost.
For a clean front-end setup, keep mounts stable and aligned. If you need a dedicated computer mount, see the Garmin/Wahoo Holder.
For between-the-arms hydration, Tetsuo’s Bottle holder, Bottle holder bar, and BTA Wedge help you keep bottles accessible while protecting wrist and shoulder alignment.
Your best position is limited by your body today. If you force a low stack without the mobility to support it, you will lose time by sitting up, not by being a few millimetres higher.
First, hip flexor and hamstring mobility to allow pelvic rotation. Second, thoracic extension so the upper back can support the head without constant neck tension.
Train low-load endurance for the upper back and core. Think controlled rows, carries, and anti-rotation work. You are building the ability to hold shape, not chasing a single max lift.
| Goal | Primary lever | What to watch |
|---|---|---|
| Stay aero longer | Pad support and tilt | Hands relax, elbows stop drifting |
| Improve breathing | Stack and width | Ribcage feels open at race power |
| Reduce neck strain | Reach and stack | Head stays neutral without forcing |
| Better control in crosswinds | Pad width and forearm contact | Steering from forearms, not hands |
| Stop numb hands | Tilt and grip pressure | Wrists neutral, grip lighter |
A position is “done” when it is repeatable. If you can ride two hours with long aero blocks, complete hard surges without the front end twisting, and start your run without upper- body fatigue dominating, you are close.
Once you find that setup, document it. Note pad stack, pad reach, width, and extension tilt. Take a photo with a ruler in the frame. This is how you keep your gains through travel, maintenance, and race week nerves.
Make changes in small steps and only when you can test them. A good rule is one primary adjustment per session, then a longer ride to validate.
If you are changing bikes, rebuilding your front end, or cannot hold aero without pain, a professional fit can save time. For minor tweaks and repeatability checks, a structured DIY process works well.
Support the forearms, relax the shoulders, and align the wrists. Fresh pads can also make a big difference in long rides.
Use Tetsuo’s compatibility guide to confirm mounting points and the right plate for your frame.

GETTING YOU FASTER
Configure your Masamune