

How to Use Triathlon Aerobar Measurements for a Faster, Sustainable Position

Triathlon aerobar measurements are the foundation of a front end you can hold under load. Before you chase a lower position, measure the interface, the support zone, and the extension angle so every watt goes forward. The goal is not a screenshot. The goal is repeatable speed, stable breathing, clean handling, and a position you can still trust deep into the ride.
A fast setup starts with numbers you can repeat. Riders often move pads, extensions, and wedges by feel, then wonder why the bike feels different after travel or after one hard session. Measured positions remove guesswork. They help you rebuild the same support, the same wrist angle, and the same steering feel every time you touch the front end.
At Tetsuo, performance is framed in practical terms. A cockpit should help reduce drag, improve stability, and let you stay aero longer. That idea matters because comfort and aerodynamics are not opposites in long-course racing. If a position is too closed, too narrow, or too unstable, you sit up more often and lose free speed you already paid for with training.
That is why the measurement process should always move from the bike outward. First confirm that the mounting interface is correct. Then shape the rider support zone with pad width, reach, and stack. Only after that should you fine-tune tilt, extension length, and accessories. When the order is right, each change has a clear purpose.
The first numbers to record are mechanical, not anatomical. Check whether your base bar uses a Dual Stack layout or another architecture. On Tetsuo, Masamune is compatible with most major Dual Stack bikes and works without extra adaptation when the distance between mounting holes falls between 95 mm and 169 mm. That range gives you a hard filter before you spend time on position details.
Use a tape measure or caliper and record the center-to-center distance between mounting holes. Then compare that number against the fit hardware you plan to use. Even a strong position target can fail if the interface is wrong from the start.
Next, look at vertical and horizontal slot space, cable routing, and the room available for extensions and hydration. Even a clean pad position can become unworkable if hoses, bolts, bottle supports, and computers fight for the same millimetres. Photograph the current front end from above and from the side, then save the measurements in one place so you can rebuild the setup after travel or servicing.
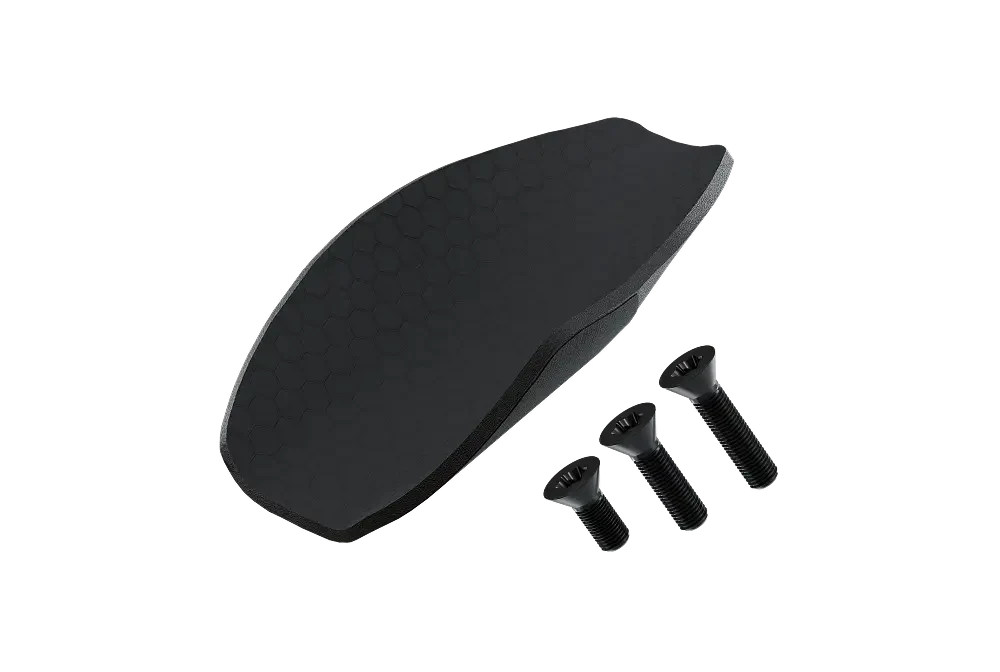
Once the interface is confirmed, build the part of the setup that actually supports the rider. In practical terms, that means pad width, pad reach, and pad stack. Tetsuo’s own fit content keeps returning to the same principle. You should be able to relax on the pads, keep the shoulders quiet, and steer from the forearms rather than clenching the hands.
If the setup is too narrow for your current mobility, the chest feels blocked and the shoulders climb toward the ears. If it is too wide, you lose the compact support that helps the upper body settle. Width is not about looking aggressive. It is about finding the narrowest position you can breathe in and hold under fatigue.
A good reach length lets the upper arms angle slightly forward without turning the posture into a plank. If you feel stretched and the shoulders burn early, bring the extensions back. If the knees threaten the elbows or the torso feels cramped, add reach in small steps.
Pad stack is the lever that protects breathing. Lower is only better when you can still keep a smooth breath and a quiet head. Tetsuo’s guidance is clear here. A small increase in stack can reduce strain enough to keep you aero longer, which often wins over a lower but unsustainable position.
After the pads are right, measure what happens in front of them. Extension length should place the shifters where you can control the bike without overreaching. Tetsuo’s buying guide describes extension length in a simple way. Run it only as far as you can maintain maximum power and safe control. If you have to chase the shifters, the setup is already too long.
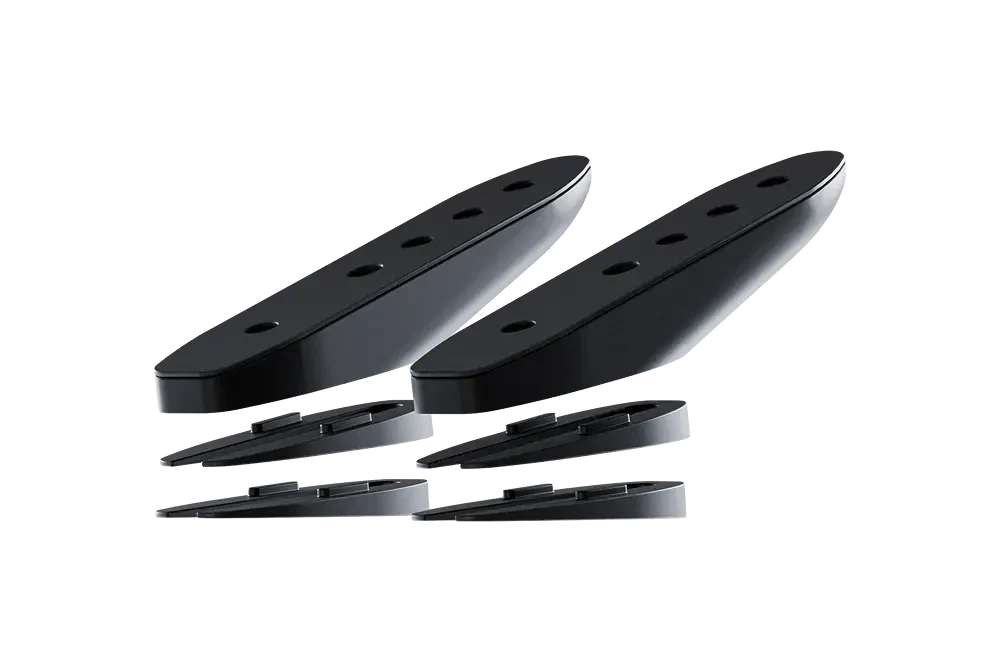
Tilt is where many riders unlock comfort without giving away speed. A controlled rise can reduce wrist extension, calm the hands, and help the head settle. On Tetsuo systems, K Wedges allow angle changes from 10 degrees to 20 degrees in 5 degree steps.
In the Masamune configurator, the wedge system can also increase reach by up to 45 mm, which makes it possible to tune hand support without improvised spacer stacks. Record the pad position first, then the extension tip location, then the chosen wedge angle. That log becomes your recovery plan after race-week packing.
Not every event asks for the same front-end priorities. The Tetsuo buyer’s guide separates the demands of short-course, middle-distance, and Ironman racing, and that is a useful framework because it stops riders from copying positions built for a different job.
| Race format | Width between extensions | Pad height | Tilt guidance | Primary aim |
|---|---|---|---|---|
| Sprint and Olympic | 140 to 160 mm | 20 to 40 mm below the base bar | 15 to 20 degrees | Maximum aerodynamics with clean control |
| 70.3 | 150 to 170 mm | 10 to 30 mm below the base bar | 10 to 15 degrees | Balance speed, breathing, and sustainability |
| Ironman | 160 to 180 mm | Level or slightly below the base bar | Start at 10 degrees and refine by comfort | Hold the position for hours and protect the run |
The table gives direction, not dogma. Read the dimensions together. A lower stack may work when reach is short and tilt is supportive. The same drop can fail when reach is long and the wrist line is flat. Use the targets as a starting point, then validate them with real riding time.
You do not need a lab to make progress. You need a disciplined sequence. Start with photos from the side and front while riding at endurance power. Then hold the aero position for two minutes and rate neck strain, shoulder tension, hand pressure, and lower-back discomfort. This gives you a baseline before you turn a single bolt.
Fix pad contact first so the forearms are supported from the elbow toward the mid-forearm. Then set reach so the shoulders can relax. After that, tune stack so breathing stays quiet. Only then should you move pad width and tilt. Riders who change five things at once usually learn nothing.
On the trainer, look for shoulder elevation, head bobbing, and elbow drift. On the road, use a repeatable loop with a straight section for aero work and a technical section for steering and braking. A position that looks tidy indoors but falls apart under fatigue is not finished.
Keep every number in a fit log. Hole distance, pad width, pad stack, pad reach, extension angle, extension length, and accessory configuration should all be recorded. The riders who stay consistent are usually the riders who can rebuild their setup with precision.
A good fit log is short and exact. Record the bike and base-bar model, the measured hole distance, the plate or adaptor used, pad width center to center, pad reach from the mounting reference point, pad stack from the base bar, extension length to the shifter tip, and wedge angle. Add one side photo and one front photo after every important change.
This matters because memory is unreliable when you are tired, travelling, or changing more than one detail in the same week. A written log gives you a fixed reference. It also makes fitter conversations more productive because you can describe what changed and what the body felt after the ride.
You should also log the riding context. Note whether the position was tested indoors or outdoors, how long you held it, what power zone you used, and what the limiting sensation was. A number without context is only half useful. The best fitting decisions connect the number to the sensation it created.
Hydration and computer placement look secondary, but they can change the front end more than riders expect. A bottle between the arms, a bottle holder bar, a computer mount, and spare hardware all compete for space around the hands and extensions. If the accessory layout forces your wrists outward or changes how you grip the ends, it has become part of the fit.
Tetsuo builds this into the system logic. The Masamune configurator includes bottle and computer options, and the product pages treat these as integrated parts of the front end rather than afterthoughts. Install the support and the accessories together, then validate the hand position as one complete race setup.
Once the baseline is stable, race demands decide the final direction. Short-course riders can often accept a little more drop and a slightly narrower support if control stays sharp and they can still accelerate cleanly out of corners. Long-course riders need the opposite bias. The position must remain calm after hours of riding, eating, drinking, and handling imperfect roads.
This is why front-end numbers should be read together, not in isolation. A lower stack might work when reach is short and tilt is supportive. The same stack can fail when reach is long and the wrist line is flat. Width can feel narrow and fast on a trainer, then too restrictive when the rider tries to breathe under real race intensity.
The practical rule is simple. Change one lever to solve one problem. Use width to solve stability and chest restriction. Use reach to solve shoulder loading and crowding. Use stack to solve breathing and neck strain. Use tilt to solve wrist alignment and hand calm. That sequence keeps the diagnosis clean.
There is a point where the right answer is not another micro-adjustment. It is a hardware change. Tetsuo’s compatibility content repeatedly stresses that the interface has to match the base bar and the stack architecture. If it does not, no amount of creative fitting will turn the setup into a reliable race platform.
If your bike needs a dedicated interface, move next to the Compatibility Guide rather than forcing the build. A clean mechanical base is what makes the fit repeatable.
Masamune is built around a modular system that can be refined with plates, wedges, foams, and accessory mounts. That modular logic matters because the fastest position is rarely found in one step. It is found by making controlled changes without compromising structural cleanliness. If you need more angle, use wedges and adaptors. If the padding is worn, replace the foams instead of blaming the fit.
Most position problems announce themselves before they ruin a race. The best response is not a full rebuild. It is one measured change that matches the symptom you felt on the road.
| What you feel | What it usually means | First change to test |
|---|---|---|
| Neck pain after 20 to 30 minutes | Stack too low or reach too long | Raise the pads slightly or shorten reach |
| Numb hands or tight forearms | Too much weight on the hands or poor wrist angle | Increase pad support and adjust tilt |
| Shoulders burning | Pad width too narrow or reach too long | Widen support or bring the extensions back |
| Sliding forward on the saddle | Reach too long or support too far forward | Move support rearward and retest |
This approach matters because false positives are common. Riders often blame stack when the real problem is reach, or blame width when the real issue is failing pad contact. A structured test removes that noise.
For a complete front-end system, the starting point is Masamune. It is built for maximum aerodynamics, ergonomics, and stability, and the modular architecture makes controlled fit changes possible.
If the priority is tilt and hand support, move next to K-Wedges and the wider Wedges collection. The K Wedge adaptor extends the tilt range by 5 degrees up to 20 degrees, which is useful when the wrists need a cleaner line.
For mechanical validation, keep the Compatibility Guide, the Assembly Guide, and the FAQs page close at hand. For fit education, the best companion reads are How to Adjust Aerobar Position for Speed and Comfort, The 7 Most Common Mistakes When Choosing Triathlon Aerobars, and Triathlon Aerobars 2026: Performance Buyer’s Guide.
When pad pressure becomes the issue, replace worn support before changing the fit. Masamune Foams and the Spares collection help restore the contact quality that keeps movement under control.
One of the strengths of a modular front end is that it lets you solve the right problem with the right part. A rider who needs more tilt does not need a new base setup. A rider who needs cleaner pressure points may only need fresh foams. A rider who needs a safer mechanical interface may need the correct plate before any fit work continues.
That is the practical difference between random upgrades and a system approach. Precision comes from knowing which measurement is driving the issue, then choosing the component that changes that one variable without disturbing the rest of the position.
Start with the mounting interface. Confirm the stack architecture, measure the hole distance, and check cable and accessory space before you touch pad width or reach.
Only as low as you can breathe quietly and keep the shoulders relaxed. A lower front end is useful only when you can still hold it under race fatigue.
Use wedges when the wrists need a cleaner angle or when a small rise helps you relax the hands and keep the head stable. On Tetsuo systems, wedge changes are controlled and repeatable.
Sometimes, but not always. Numb hands can come from poor pad support, too much weight on the hands, or a wrist angle that fights the extension. Test one change at a time.
Check worn foams, loose hardware, and the mounting interface first. Old padding and unstable hardware can create movement that feels like a fit problem.

GETTING YOU FASTER
Configure your Masamune