


How Triathlon Aerobar Performance Improves When Fit Comes First


Triathlon aerobar performance is not defined by one shape, one weight figure or the lowest position you can copy from a professional athlete. Real performance comes from a front end that reduces unnecessary drag while allowing you to produce power, breathe freely, steer with confidence and stay aero for the duration of your race. At TETSUO, we build around that balance. The fastest setup is the one you can repeat under load, not the one that only looks fast in a static photo.
This is why we treat the aerobar as a complete performance system. Pad support, reach, stack, extension tilt, wrist angle, hydration access and hardware stability all affect how much time you can spend in the position. A small adjustment that lets you stay relaxed for another twenty minutes can matter more than an aggressive change that forces you to sit up repeatedly. If you are starting from a blank setup, explore our aerobars collection and use the principles below to decide what your cockpit needs to do.
Performance on the bike is usually discussed as speed or watts, but an aerobar affects more than one variable at the same time. It changes your frontal area, where your upper body is supported, how your wrists interact with the extensions and how stable you feel when the road becomes rough or the wind changes. Those effects are connected.
A lower torso can reduce exposure to the wind, but if the position closes your breathing or places too much load on the shoulders, you may lose power or leave the bars more often. A narrow pad position can feel compact, but if it creates instability you may grip harder and create more upper-body movement. The best setup therefore improves the relationship between aerodynamics, sustainable power and control.
We use a simple principle when we think about performance. First make the position supportable. Then make it repeatable. Only after that should you chase smaller aerodynamic gains. That order prevents you from building speed on top of discomfort.
The aerobar matters because it helps organise the rider. The body is a much larger object than the hardware attached to the bike, so the value of a good front end is the position it enables. Your forearms should feel supported, your shoulders should stay calm and your head should be able to settle naturally without forcing your neck upward.
Stability is easy to underestimate because it is difficult to see in a fitting photo. On the road, however, small steering corrections and shoulder movement add up. A secure elbow platform lets the hands stay lighter on the extensions and helps the torso remain quiet. That is useful on smooth roads, but it becomes even more important with crosswinds, rough tarmac and technical sections.
Pad width is part of this. Too narrow can create tension through the shoulders and reduce breathing space. Too wide can increase frontal area and make the position feel less connected. The correct width is the one that keeps your elbows supported without forcing the shoulders into a position you cannot sustain.
Aerodynamic performance should never be separated from pedalling mechanics. When the front end is too low or too long, the torso can close toward the thighs and make it harder to rotate the pelvis into a productive position. Some athletes respond by sliding forward on the saddle, rocking the hips or changing cadence. Others simply produce less power.
The solution is not automatically to raise the bars. The right answer can be a small stack change, shorter reach, different pad support or more extension tilt. These variables change how the torso and arms share the load. That is why we recommend working from measured coordinates rather than changing parts by feel. Our triathlon aerobar measurements guide explains how to record the front end so every test starts from a known reference.
A position that feels comfortable at easy endurance pace can fail at race intensity. As power rises, breathing becomes deeper and shoulder tension is more obvious. The front end needs enough space for the ribcage to work without forcing the athlete to lift the chest.
This is one reason testing at realistic power matters. When you evaluate a position, include sustained blocks near the intensity you expect to race. Watch cadence, perceived breathing restriction and the amount of time you remain on the pads. A position that costs a small amount of laboratory drag but lets you maintain target power for longer may be faster over the full bike leg.
Stack determines how high the elbows sit relative to the base bar. Reach determines how far forward the support point sits. Together they influence torso angle, shoulder load and hip closure. They should be adjusted as a pair because changing one often changes how the other feels.
If the neck and shoulders become overloaded, reach may be too long, stack may be too low or both. If the position feels upright and disconnected, you may have more room to lower the support or extend the front end. Make small changes and record them. Large jumps make it difficult to understand which variable created the improvement.
Your elbows are the foundation of the aero position. The pads should support the forearms without forcing you to squeeze inward. A stable support zone lets the hands stay relaxed and reduces the tendency to steer from the shoulders.
Tilt changes how the hands, wrists and forearms align. When the extensions are too flat for your anatomy, you may bend the wrists or grip harder to stop the hands sliding. More tilt can create a cleaner support line, but the best angle is individual and should be validated on the road.
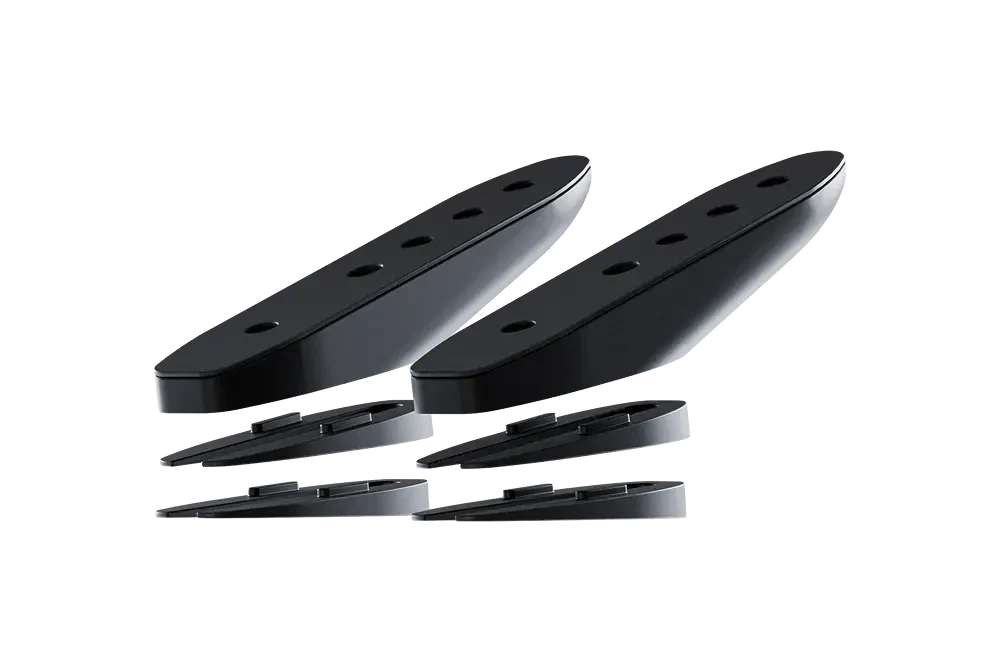
Our K Wedges are available in 10, 15 and 20 degree configurations and can increase reach from 0 to +60 mm. The system is designed to let you tune angle and hand position without improvised spacer stacks. For smaller angle changes, the K and Z Wedge Adaptor adds 5 degrees up to 20 degrees.
The hands should rest on the extensions without constant muscular effort. If you are gripping hard on a straight road, something is usually asking for attention. Reach may be too long, the wrist angle may be wrong or the elbow support may not be stable enough.
Clean control matters for performance because tension spreads. Tight hands often lead to tight forearms, elevated shoulders and more head movement. A relaxed grip is not only a comfort goal. It is a sign that the front end is supporting the rider correctly.
We designed Masamune as an integrated front-end platform for athletes who want a light, rigid and highly adjustable system. The body is made from 100 percent unidirectional carbon monocoque construction, with internal wire routing and a structure intended to keep the front end precise under load.
The performance value is not carbon by itself. It is the combination of structural support and adjustment. When the hardware stays stable, fit changes remain meaningful because the rider is not compensating for flex, movement or inconsistent contact points.
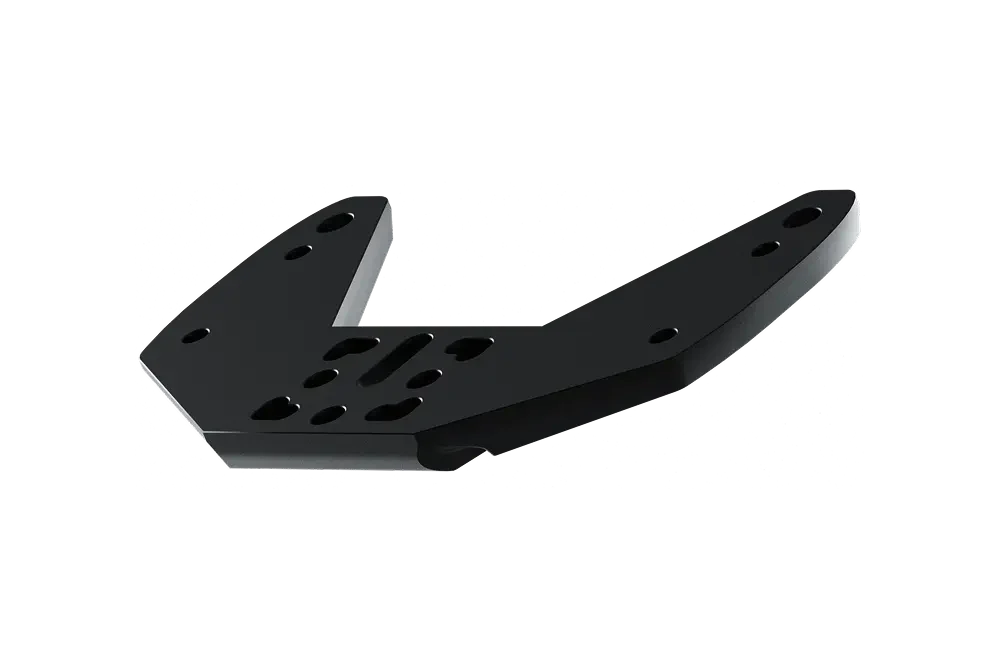
Reach and tilt are often changed together in real fitting. Moving the hands upward can alter where the shoulders want to sit, while moving the support forward can change wrist loading. The K Wedge system gives us a controlled way to work with both.
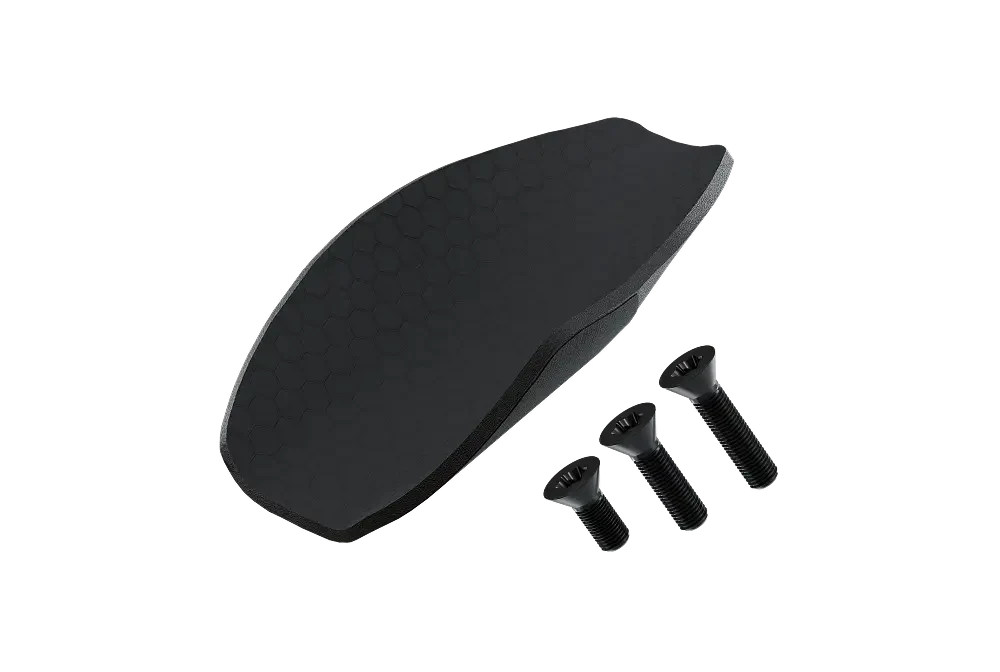
Comfort is a performance variable when the race lasts for hours. Masamune uses removable ARAI Foam attached with Velcro. The high-density padding is designed to absorb micro-vibration and reduce pressure buildup over long periods in the aero position.
Foam should support the forearm without hiding a poor fit. If pressure stays concentrated on one small area, adjust the pad position before assuming more cushioning will solve the problem. The goal is even support, stable elbows and a position that still feels controlled late in the ride.
Hydration, computers and small accessories can either preserve a good position or slowly dismantle it. A bottle that is difficult to reach may force you to lift the torso. A computer placed too low may encourage repeated head movement. A mount that vibrates can make the rider grip harder than necessary.
We recommend integrating these elements after the core fit is established. Once pad position, extension angle and hand support are stable, place hydration and data where they can be used without changing posture. Our guide to aerobar hydration explains how bottle access affects pacing and posture during a race.
The same principle applies to maintenance. A setup can start the season perfectly aligned and gradually change through sweat, travel, repeated torque cycles and pad wear. Use our aerobar maintenance guide to keep the position you tested instead of unknowingly racing a different one.

Start by recording the current setup before changing anything. Photograph the bike from the side and front. Write down pad width, pad reach, stack, extension length, tilt and accessory placement. Then ride a repeatable route or indoor session at a fixed power target.
Record more than speed. Note how long you stay aero, whether your hands remain relaxed, how your neck feels, how easy it is to drink and whether breathing changes at race power. These observations give you a baseline that is useful even when weather makes speed comparisons unreliable.
If you change stack, reach, tilt and saddle position in one session, you will not know what worked. Change one main variable, test it, then decide whether the next change is necessary. This approach feels slower, but it usually gets to a reliable position faster because each result teaches you something.
Once a position passes an easy endurance test, ride it at realistic race intensity. Include sustained efforts long enough for posture to settle and fatigue to appear. A good setup should let you maintain power without progressively lifting the shoulders or moving backward on the pads.
Indoor testing is useful because it controls power and removes traffic, but it cannot reproduce crosswinds, road vibration, corner entry or the need to look farther ahead. Take the final candidates outside before race day.
Use a safe route and compare how calm the bike feels. If one setup is marginally lower but makes you leave the extensions every time the road gets rough, it is not the stronger race setup. Real aerobar performance includes confidence.
| Race format | Primary cockpit priority | What to validate |
|---|---|---|
| Sprint and Olympic | Low drag with quick control | Fast settling into aero, clean steering, unrestricted power |
| Middle distance | Balance speed and support | Breathing, hydration access, neck load, stable race power |
| Full distance | Sustainable aero time | Pressure distribution, fueling access, shoulder fatigue, late-ride control |
Shorter races can tolerate a more aggressive position because the exposure time is lower, but the bike still has to be controllable. Middle-distance racing asks for a stronger balance between aerodynamics and breathing. Full-distance racing magnifies every small discomfort. The athlete who remains aero late in the ride often gets more value from the front end than the athlete who starts in a lower position but cannot keep it.
| What you notice | Likely issue | First test |
|---|---|---|
| Shoulders burn early | Reach too long or pads too narrow | Shorten reach slightly or widen support |
| Hands go numb | Poor wrist angle or too much hand pressure | Adjust tilt and confirm elbow support |
| You sit up to breathe | Torso angle too closed | Add a small amount of stack and retest |
| Bike feels nervous | Support too narrow or grip too tense | Review pad width and hand relaxation |
| You avoid drinking | Hydration access interrupts posture | Reposition the bottle inside your natural reach |
Another common mistake is changing hardware before checking installation. Movement at the mounting interface, uneven pad alignment or incorrect torque can feel like a fit problem. Before redesigning the position, verify compatibility and assembly. Our Compatibility Guide and installation guide provide the correct starting point.
If you are refining an existing position, our guide on how to adjust aerobar position for speed and comfort gives a focused process for stack, reach, width and wrist alignment. Use it together with your fit log so every change remains reversible.
Aerobars can make a triathlon setup faster by helping the rider adopt and maintain a more aerodynamic position. The benefit depends on fit, stability and how long you can remain on the extensions. Hardware alone does not guarantee speed.
The result depends on rider position, speed, current equipment and testing conditions. On our current Masamune platform, we reference aerodynamic savings of up to 30 W at high speeds. Treat that as a product performance reference, not a guaranteed result for every athlete. Your real gain depends on the complete rider and bike system.
There is no single adjustment for every rider, but pad stack and reach are usually the foundation because they influence torso angle, shoulder load and hip closure. Pad width and extension tilt then refine stability, breathing and wrist alignment.
No. They should be low enough to reduce unnecessary frontal area while still allowing you to breathe, produce power, see the road and hold the position. A slightly higher setup can be faster over a full race if it keeps you aero for longer.
Tilt should support a neutral, relaxed wrist position and stable hand contact. We offer K Wedges in 10, 15 and 20 degree configurations so the angle can be matched to the athlete rather than treated as one universal number.
Use repeatable testing. Keep power, route and equipment as consistent as possible, change one variable at a time and record sustainable aero time, comfort, breathing and control alongside speed. Validate the final setup outdoors before racing it.
Recheck it after travel, servicing, hardware changes or any period when the cockpit starts to feel different. Even without major changes, periodic inspection is useful because foam wear, fastener movement and accessory shifts can alter a position gradually.

NOUS VOUS FAISONS ALLER PLUS VITE
Configurez votre Masamune